Most of the content on your storefront, such as theme customizations, web pages, and images, can be migrated from one store to another without having to manually recreate your design work. Review the following table to see how each content type can be transferred to another BigCommerce store.
| CSV Import | API | BigCommerce Apps | Manual Transfer | Non-transferable | |
|---|---|---|---|---|---|
| Stencil Theme customizations | X | ✔ (Stencil CLI) | N/A | ✔ | X |
| Page Builder Widgets | X | X | N/A | X | Widgets must be manually recreated |
| Web Pages and Blog Posts | X | ✔ | N/A | ✔ | X |
| Logo/Favicon | X | X | N/A | X | Logos and favicons must be manually uploaded |
| Carousel Images | X | X | N/A | X | Carousel images must be manually uploaded |
| Images in the Image Manager | X | X | N/A | ✔ | X |
| Marketing Banners | X | ✔ | N/A | ✔ | X |
| Transactional Email Templates | X | ✔ | N/A | ✔ | X |
| Abandoned Cart Email Templates | X | ✔ | N/A | ✔ | X |
| Gift Certificate Templates | X | X | N/A | ✔ | X |
| Social Media Links | X | X | N/A | ✔ | X |
Move any linked content from WebDAV over to your destination store’s WebDAV file. You will need to update links to content if you are copying over customizations to the theme or storefront pages that reference items in the source store’s content folder. See File Access (WebDAV) for more information.
Limitations
- Legacy Blueprint themes cannot be transferred to a new store.
- Themes purchased from the Theme Marketplace are solely licensed for use on the store selected when completing the purchase. You must purchase the theme in your destination store before transferring any customizations. See BigCommerce Design Policy for more information.
- Widget content can be copied via the API, but widget layouts and containers cannot. This means that they cannot be transferred to a destination store’s theme via API.
Export Template Details
The instructions below are for transferring minor customizations. To transfer larger customizations, we recommend that you or your developer use Stencil CLI, which provides access to all theme files.
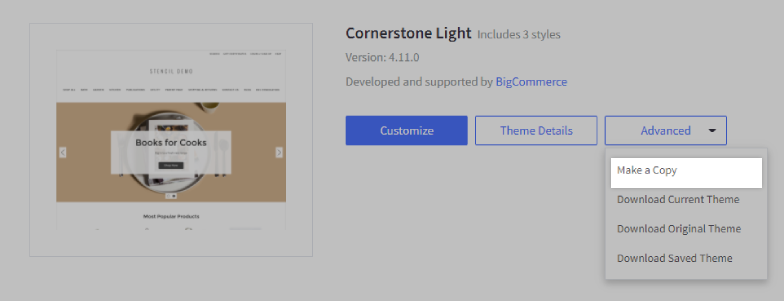
After you have added your theme to the destination store, create a copy of the theme so you can move your customizations from the source store. Go to Storefront › Themes in the destination store and select Make a Copy from the Advanced drop-down menu of the current theme.
If you're using Multi-Storefront, each storefront's themes are located in the storefront-specific settings within Channel Manager. See Single-Storefront vs. Multi-Storefront for more information.
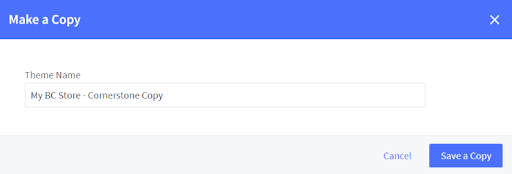
Give the copied theme a name, then click Save a Copy.
Once the copy has completed, click the action icon and select Edit Theme Files.
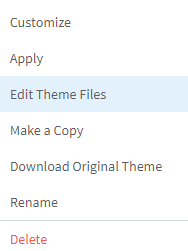
Go to Storefront › Themes in the source store and select Edit Theme Files from the Advanced drop-down menu.
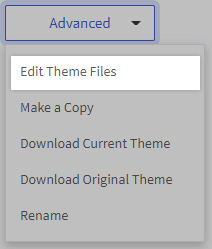
Once you have the Stencil File Editor open for both stores, you can copy customizations from the theme files of the source store and paste them into the corresponding files of the destination store.
Transferring Web Pages and Blog Posts
Web pages and blog posts can be migrated via the API. See our Store Content API documentation in the Dev Center for more information.
Web Pages
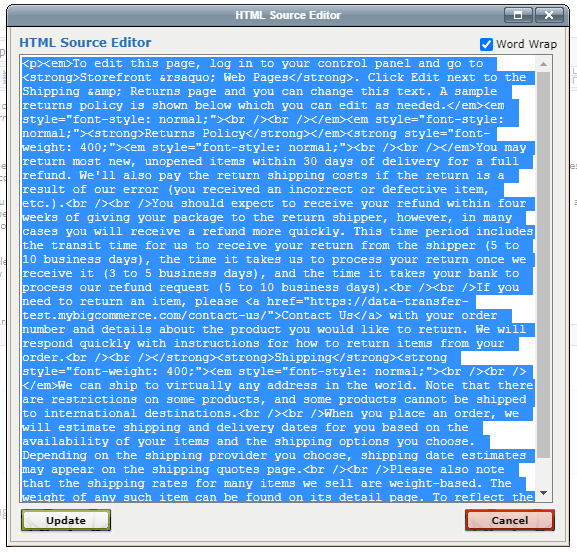
To migrate content from a web page without the risk of missing or misaligned elements, go to Storefront › Web Pages in the source store and navigate to the page you want to transfer. Once there, click the Edit HTML Source button in the WYSIWYG editor.

Copy the HTML in the popup window. This contains all of the web page’s content and formatting.
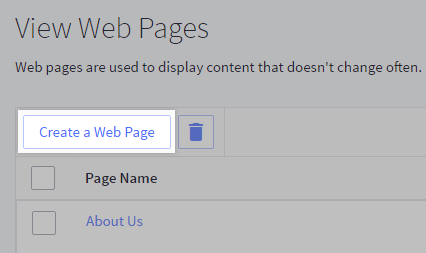
Go to Storefront › Web Pages in the destination store, then click Create a Web Page.
Give the new page a name, then click the Edit HTML Source button and paste the copied HTML into the popup window. Copy over any other page information, such as metadata and search keywords, then save your changes. Repeat these steps for each web page you wish to migrate.
Blog Posts
The process of transferring posts from the built-in blog to another BigCommerce store is similar to transferring web pages. In the source store, go to Storefront › Blog and navigate to the blog post you want to transfer. Click the HTML button in the WYSIWYG editor and copy the HTML in the body.

In the destination store, click the + button to create a new blog post. Click the HTML button and paste the copied HTML. Copy over any other information, like tags or metadata, then save your changes.
Transferring Image Manager Images
You can easily migrate the images in your store’s Image Manager by dragging and dropping them between your stores’ WebDAV folders. Connect to the source store using WebDAV and locate the product_images/uploaded_images folder.
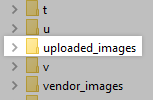
Once found, connect to your destination store’s WebDAV and locate the same folder. Drag and drop the source folder to the destination folder to begin uploading the images. Once complete, all of the images will be present in Storefront › Image Manager.
Transferring Email Templates
If you haven’t made any changes to your source store’s transactional and abandoned cart email templates, then your destination store’s default templates will already match without needing to transfer anything. If you have added custom code, you can migrate them using the following steps.
These instructions are for the Transactional Email experience. If your source store is on the legacy experience, see New Transactional Email Templates for details on how to move your store to the new experience. New stores use Transactional Emails by default.
Transactional Emails
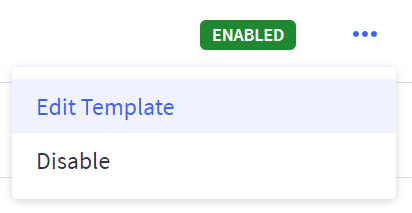
1. In the source store, go to Marketing › Transactional Emails. Click the ⋯ settings button next to the template you wish to transfer and select Edit Template.
2. Under the Code tab, copy the code in the Content box.
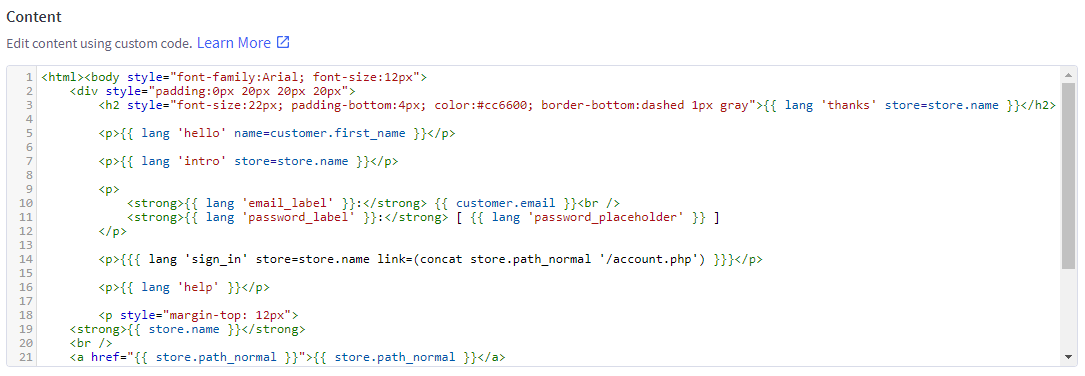
3. Go to Marketing › Transactional Emails in the destination store and edit the corresponding email template. Paste the code into the Content box of the Code tab.
4. If you have any custom phrases referenced in the code, recreate them in the Phrases tab. Preview your changes to make sure they look correct, then save when you are done.
If you would prefer to transfer your transactional email templates via the API, visit the Dev Center for more information.
Abandoned Cart Emails
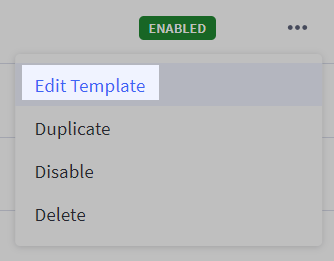
1. In the source store, go to Marketing › Abandoned Cart Emails. Click the ⋯ settings button next to the template you wish to transfer and select Edit Template.
2. Under the Code tab, copy the code in the Email body.
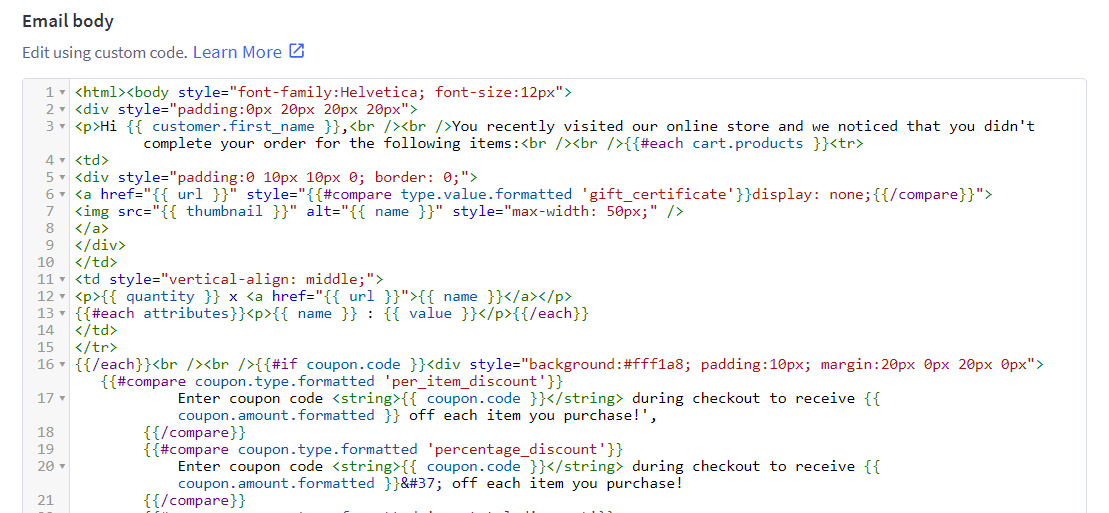
3. Go to Marketing › Abandoned Cart Emails in the destination store and edit the corresponding template, or create a new one by clicking + Add template. Paste the code into the Email body of the Code tab.
4. If you have any custom phrases referenced in the code, recreate them in the Phrases tab. Set the Send in time and select any coupon code you wish to include in the email.
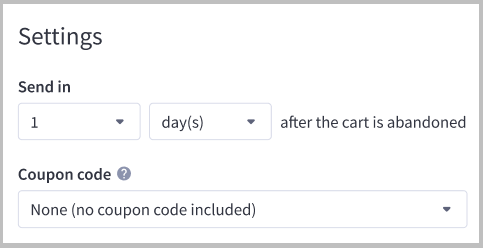
5. Preview your changes to make sure they look correct, then save when you are done.
If you would prefer to transfer your abandoned cart email templates via the API, visit the Dev Center for more information.
Transferring Other Storefront Content
Additional content on your source store’s storefront can be moved to another store without recreating it manually.
Marketing Banners
The steps for transferring a marketing banner closely resemble those used to migrate web pages. Go to Marketing › Banners in the source store and navigate to the banner you want to transfer. Once there, click the Edit HTML Source button in the WYSIWYG editor.

Copy the HTML in the popup window, then create a new banner in the destination store. Open the HTML Source Editor window and paste your contents there. Give the banner a name and configure its other settings, such as where and for how long it will appear on the storefront.
Gift Certificate Templates
Like banners, you can migrate customizations to your gift certificate templates by copying the source store’s template HTML and pasting it in the HTML Source Editor window of the template in the destination store. Gift certificate templates can be found by going to Storefront › Gift Certificate Templates in the control panel.


