One of the most important factors in getting your shoppers to the products they desire is organizing your catalog in a way that is helpful and intuitive. By assigning categories and brands to your products, you’re providing shoppers with a variety of methods to search, sort, and browse for what they need.
Categories
Categories are groups you can create to organize your products on the storefront. Categories for product traits like Mens and Womens, or Kitchen and Bath help your customers to narrow the search for their desired product, while promotional categories like Sale and Clearance can bring focus to products you want to move and increase average order value. Products can be assigned to multiple categories to make them easier to find.

You can create new categories, manage their details, and specify their arrangement and hierarchy in Products › Product Categories. Categories can also be created when adding or editing products in the control panel, importing a CSV file of your products with the legacy Import/Export tool, or via the API.
Categories cannot be created via the latest Import/Export tool. See our Modern Product Import/Export guide for more information.
Once created, categories can be assigned to a product from the Product Information area of the Add Product page.

You can assign categories to multiple products at the same time from the Product List or by using bulk edit in the control panel, the modern Import/Export tool, and via the API.
For more information on creating and managing categories, assigning products, and category settings, see Product Categories.
Category Details
When adding or editing a category in Products › Product Categories, there are several content fields available to specify display, organization, and SEO information on the category page.

Your category’s Name is the text that will appear in your storefront navigation and on its catalog webpage, where a list of assigned products will be shown. The category URL will automatically generate, based on the category name and any formatting rules specified in your URL Settings, or you can enter one manually in the URL field.
The Description field provides a space to add detailed information about the sorts of products that can be found in your category, and the WYSIWYG editor allows you to enhance your text with formatting, images, and videos. Savvy merchants can use the HTML editor to add advanced styling and custom scripts. As with product descriptions, including important keywords associated with the products found in your category can boost your SEO.

In the Parent Category field, you can nest your category under a pre-existing one, or you can set it as its own parent category by selecting No Parent Category. You can also control category hierarchy by rearranging them from the category menu.
If you’ve added a custom template file for category pages in your theme, you can apply it to your category from the Template Layout File dropdown.
The category’s Sort Order determines the order in which categories appear in your navigation. If more than one category shares the same sort order, then they are organized alphabetically. In addition to the Sort Order field, you can manually assign category order by rearranging them from the category menu.
To manage how products are sorted in a particular category, you can use the Default Product Sort dropdown. By default, your categories use the preset that is defined in Display settings, but you can assign a unique sort type if you want to emphasize a preselected list of products or showcase new stock in a specific category.

Many themes, including Cornerstone, allow you to add an eye-catching image to the top of your category page. Upload your desired image from your device using the Category Image field.

To enhance your store’s search ranking and make it easier for shoppers to find your products, you can add unique metadata to your category in the Search Engine Optimization fields. If left blank, your category page will use the metadata entered in your homepage SEO fields.
Note that while there is a field to add meta keywords to your category, their use has been largely deprecated in recent years. We recommend leaving Meta Keywords blank and including your keywords in the Meta Description field instead.
Additionally, you can enhance your storefront search by adding Search Keywords to your category. Including terms that aren’t found in your category description can make it easier for shoppers to locate the right category in your store.
Category Display
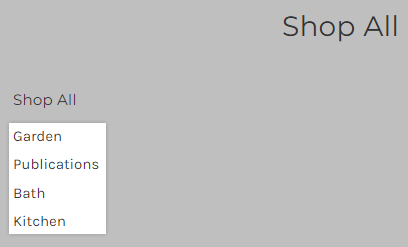
In the storefront, your parent categories appear in the navigation menu at the top of the page, as well as in the footer. Depending on your theme, shoppers can mouse over or click on a parent category in the menu to view its subcategories. By default, when viewing a category page, its subcategories are displayed on the left.

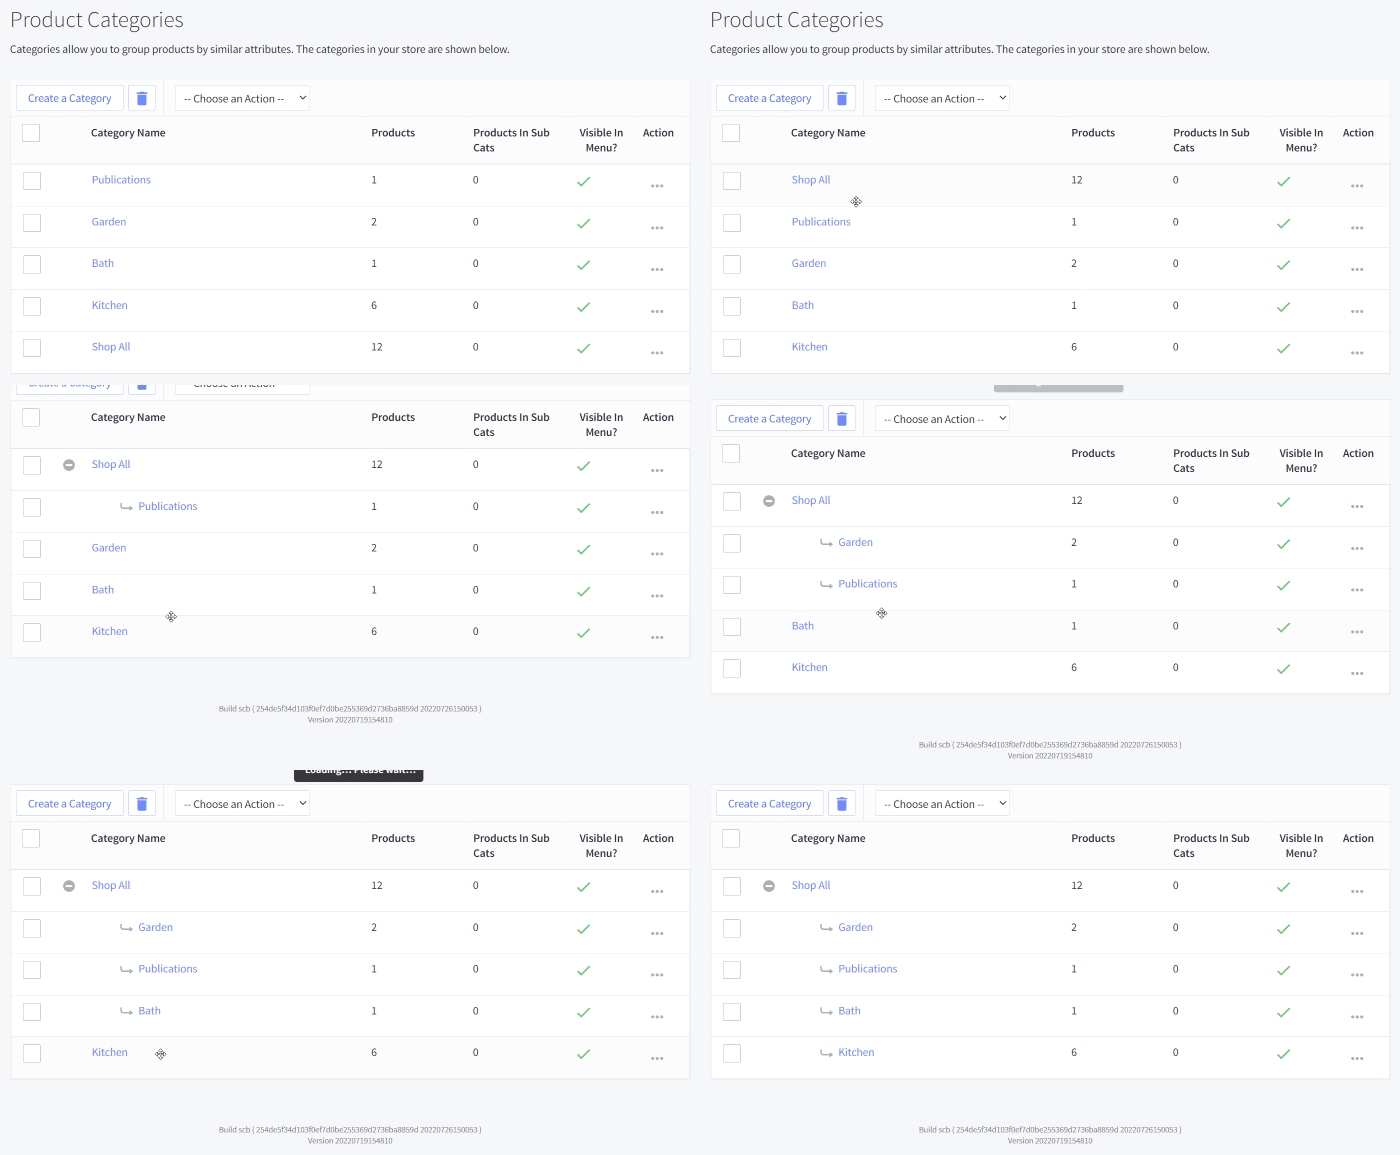
In Products › Product Categories, your categories are arranged in the order they appear on your storefront. Categories that can be seen in your storefront are marked with a green checkmark in the Visible in Menu column, while hidden categories are marked with a red X. To toggle a category’s visibility, click on its symbol in the column.

Subcategories can be viewed by clicking + next to their parent category. You can change the order of categories by dragging them up and down in the category, or you can change their hierarchy by dragging them left or right. Note that any rearrangements made in the category appear on your storefront in real time.

Menu display depth, or how many levels deep your categories are displayed in the store, can be set in your Display settings. The maximum display depth is 8 levels, but your theme may have additional restrictions. Keep in mind that displaying many categories in multiple levels can negatively impact your site speed.
Brands
A brand is a company name and design associated with a particular product. Unlike categories, a product may only have one brand assigned to it at a time. Products resold from a manufacturer may be associated with an existing brand, while you can create your own unique brand for products manufactured by yourself.

While adding a brand to your products is optional, it can be a helpful alternative to categories for organizing products in your storefront. Many shoppers begin shopping by looking for brands they are familiar with. By providing them with a quick and easy means to search by brand, it can streamline your storefront experience and reduce the number of steps leading to a purchase.
Brands can be created and managed from Products › Brands. Like product categories, you can also create brands when adding or editing products in the control panel, or via CSV import. To learn how to add a brand in your store, see Managing Brands.
Brands cannot be created via CSV import in Multi-Storefront stores. See our Modern Product Import/Export guide for more information.
A brand can be assigned to a product from the Product Information area of the Add Product page. You can also assign brands to multiple products by using bulk edit in the control panel.

Brand Details
When adding a new brand, a storefront page is created which provides a list of all products associated with the brand. You can manage a brand page’s design and SEO from Products › Brands by clicking on the brand name.

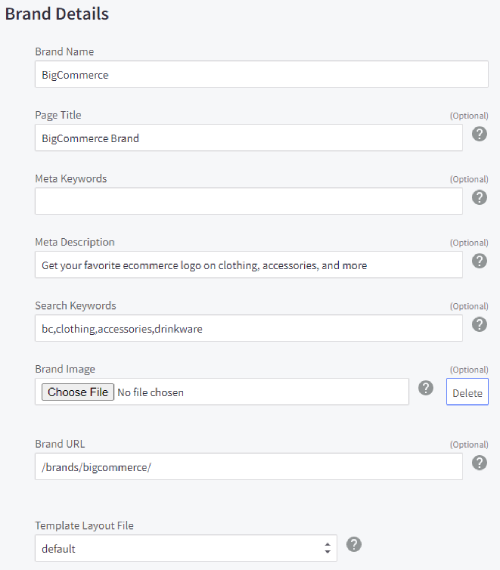
The Brand Name appears on product pages and will appear in storefront search results. The Page Title field allows you to enter text to be used as a title when your brand page appears in search engine results. If left blank, your brand name is used instead.
In addition to Page Title, the Meta Keywords, Meta Description, and Search Keywords fields are available for managing brand page SEO. As with categories, it is better to craft a meta description that includes important keywords for your brand than adding them to the Meta Keywords field. Search Keywords is where you can add relevant terms to help shoppers locate the brand using your storefront search.
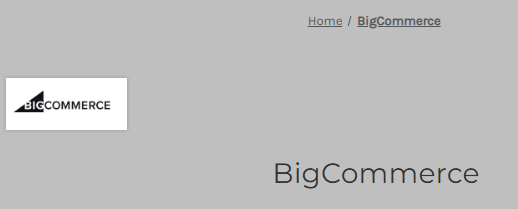
If your brand has a logo, you can upload it in the Brand Image field. This image will display on the brand’s page, as well as the All Brands page which lists all of your store’s brands.

When a brand is created, a URL is automatically generated using the brand name, but you can enter a unique URL in the Brand URL field. If you change the URL, you will see an option to automatically create a 301 redirect from the original URL to prevent shoppers and search engines from encountering a 404 error (a “dead link”) on your store.
If you’ve created a customized design template in your theme for your brand pages, you can add it to your brand using the Template Layout File dropdown.
Brand Display
In most themes, your brands are displayed as a list in your storefront’s footer. Included in the list is a link to the All Brands page, where shoppers can browse your brands alphabetically.

Brands can be displayed with their products by enabling Show Product’s Brand from your product display settings. A product’s brand can be seen below its name when viewing the product’s page, and above the name on thumbnails in product list pages and product panels.

When a shopper clicks on a brand name, they are taken to the brand page where all products associated with that brand are listed. By default, products in brand pages are sorted by Featured Items. While the default sort type for brand pages cannot be changed, your shoppers can use the Sort By dropdown to rearrange products on the page.
In the next chapter, we’ll present the different methods for adding your product catalog to your BigCommerce store, and discuss the situations best suited for each method.


