After creating your catalog, you can export the existing products from your store to a CSV file. Exporting allows you to edit existing products in bulk, save a backup copy of your catalog data, or even transfer your products to a different BigCommerce store.
With the legacy Import/Export tool, you can export your entire catalog, or select a subset of products. Additionally, you can create custom export templates to specify which product fields are present in your CSV file.
Requirements
In order to export products from your store, you must have the following permissions enabled in your user account:
- Manage Products
- Export Catalog Entities
Your user account must also have the Manage Export Templates permission to create, copy, and edit custom export templates.
Note that not all product fields are exportable. See Supported Product Fields for a complete list of fields that can be included in a CSV file.
Exporting Products to a CSV File
To export your entire product catalog, go to Products › Export. You can also use the search and filter tools in your product list to select a subset of products for export. In the Export options tab, select your desired export settings.
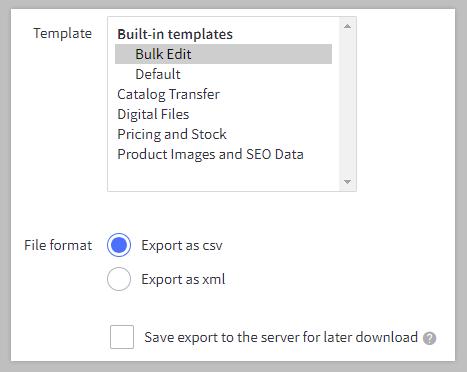
- Template — Select a custom export template, or one of the following built-in templates:
- Bulk Edit (recommended) — This template was made for updating your product information. It includes the majority of exportable fields and has specifically named columns that let you skip steps in the importing process.
- Default — This template includes only basic product details such as name, weight, description, and price.
- File Format — You can export your file as a CSV or XML. We recommend CSV, as any other file type cannot be imported back into your store.
- Save export to the server for later download? — Select this option to save the file to your exports folder in WebDAV. This is recommended if you are exporting more than 1,000 products at a time.
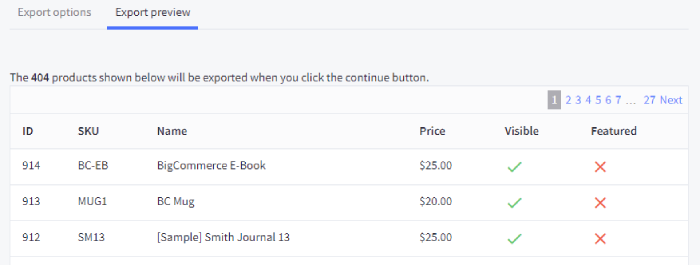
The Export preview tab displays the products you are exporting, and includes the following product fields:
- ID
- SKU
- Name
- Price
- Visible (corresponds to the Product Visible field in the CSV file)
- Featured (this field is not included in the CSV file)
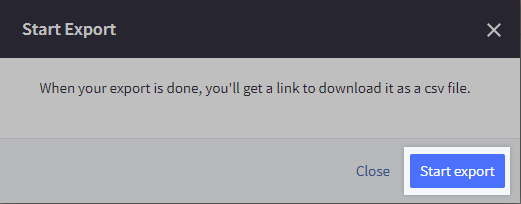
After configuring the export settings and previewing the products included in the export, click Continue, then click Start export in the pop-up window. The export will begin to process.
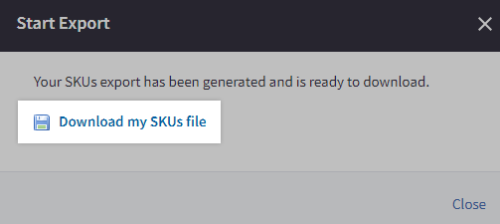
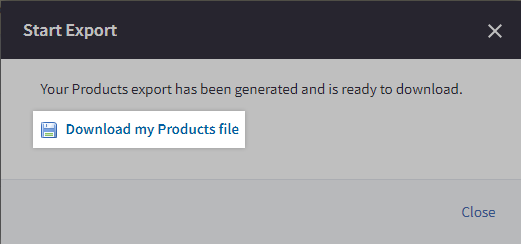
When the export is complete, click Download my Products file in the pop-up. The file will be saved to your computer, usually in your Downloads folder.
Note: The CSV export file sorts products by ID in ascending order (oldest to newest), even if you used another sorting option in the product list.
Selecting Products for Export
By default, your entire catalog is included in the CSV file when exporting products. However, you can export a limited group of your products to reduce the unnecessary product data in your file. There are three ways to selectively export products:
Filtering from the Product List
The control panel product list in Products › View displays all products in your catalog. You can click the checkbox to the left of the product or products you want to export, then select Export These Products from the Choose an Action dropdown. Click Confirm to begin the export process.

Look different? The latest version of the product list has different settings for filtering and selecting products for export. If you are using the latest product list, see our guide to the modern Import/Export experience to learn more about filtering products for export.
The product list includes several built-in filters for subgroups like featured products or products with zero stock. Click a filter at the top of the list to narrow your products for selection, or use a custom view to create advanced filters for attributes like brand or price range.

By default, the product list sorts products from newest to oldest. While viewing your products, you can change the sort order by clicking one of the following column headers:
- Product SKU
- Stock Level
- Product Name
- Price
Products do not remain selected when moving to the next page of results. If you have multiple pages of products in your list, take one of the following actions:
- Increase the products per page from the drop-down menu at the top right of the list before checking boxes next to products.
- Create individual exports for each page of products and combine the files into a single file when you're ready to import.
- Select Export These Products from the Choose an Action dropdown after filtering your products if you want to export all products in the filtered subset.
Using Advanced Search
The Filter By Keyword field in the product list allows you to locate specific products by their name, SKU, or search keywords. However, Advanced Search includes additional criteria for identifying a subset of your catalog. To access Advanced Search, navigate to Products › Search, or click Search in the product list.

In addition to the sorting and filtering options available in the product list, Advanced Search allows you to:
- Restrict your search to products that start with the same letter
- Search only within a specific brand
- Locate products in one or more categories
- Find products with a specific price range, sales history, or inventory level
- Filter by purchasability or visibility status
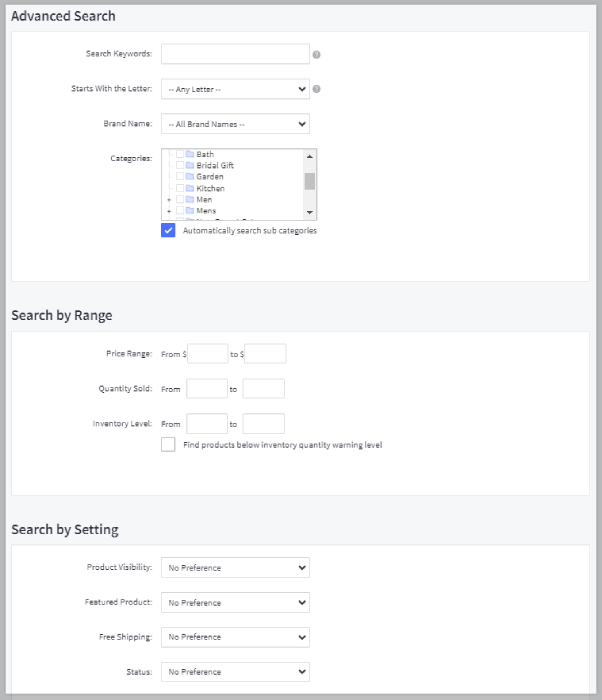
After finalizing your search criteria, click Search to view the list of relevant products and select them for export.
Pro Tip! Create a custom view of frequently-used Advanced Search criteria to quickly access them from your product list.
Viewing Products from a Specific Category
By creating a custom view or using Advanced Search, you can locate products that are assigned to one or more categories. Additionally, you can view them from Products › Product Categories by clicking the Action menu next to the desired category and selecting Products.
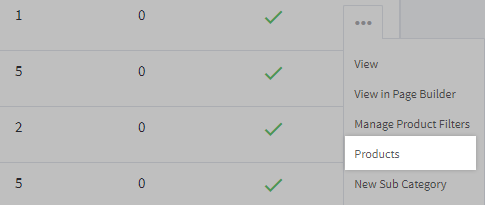
In the product list, select the products you wish to export. Note that you can only view products in one category at a time by using this method.
Creating a Custom Export Template
Customizing your export template is the best way to ensure your product export has exactly what you want. You can build a template from scratch or customize a copy of an existing template to suit your needs.
If you’re creating a template for editing products in bulk, we recommend using a copy of the Bulk Edit template and modifying it as desired. This will let you bypass manual settings and field mapping when you re-import your products.
To start, go to Settings › Export templates. Use the Action menu to Create a Copy of the Bulk Edit template, or Create an Export Template from scratch. To modify an existing custom template, select Edit from its Action menu.
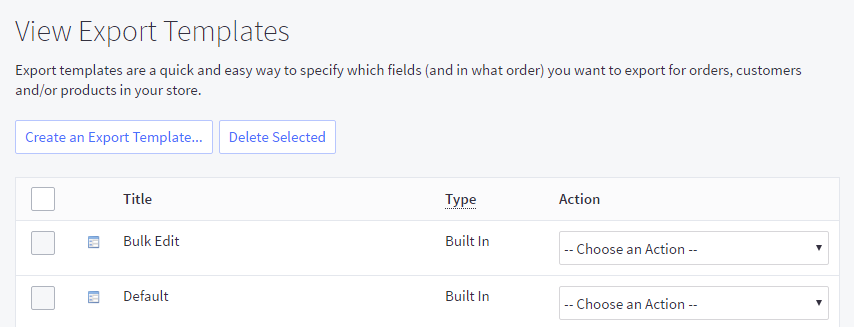
In the Template Details section, give your template a descriptive name. Since this template will be for products, ensure Enable Products Exporting is selected under Export Options. Notice that the tabs listed along the top update with your selections.

Creating a template for inventory updates? Check the box next to Enable SKUs Exporting to customize a template for exporting product SKUs.
In the Field Formatting Options section, specify how you want to structure the fields within the template when it exports.
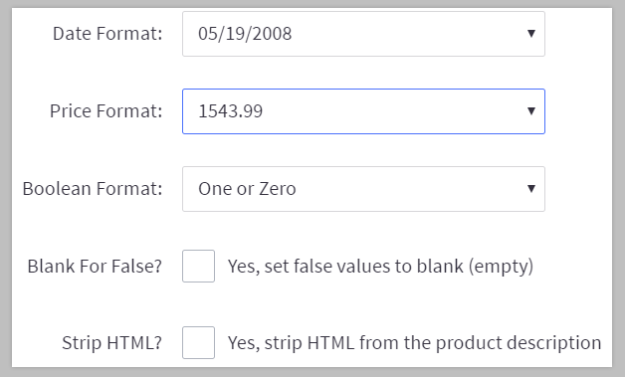
- Date Format — a drop-down menu with different options for how dates are displayed in the CSV file
- Price Format — a drop-down menu to select a preferred format to view prices. We recommend selecting the format without a currency symbol to prevent errors when re-importing your products.
- Boolean Format — a drop-down menu with a selection of how to display Boolean outputs. The legacy Import/Export tool uses Y or N Boolean values for fields like Free Shipping and Product Visible.
- Blank for False — check to make blank fields also stand for false in Boolean options. This is not recommended for most export cases, as it can cause data to be deleted.
- Strip HTML — check to remove HTML from product descriptions. Do not use unless you wish to remove style and formatting from your product descriptions. We recommend backing up your products with their HTML descriptions before enabling this setting.
If you want variant options and modifier rules to be present under products in your CSV file, check the box next to Include Product Options.

Advanced CSV Export Settings can be adjusted to meet the needs of the export. These settings can generally be left alone if you are using a copy of the Bulk Edit template.
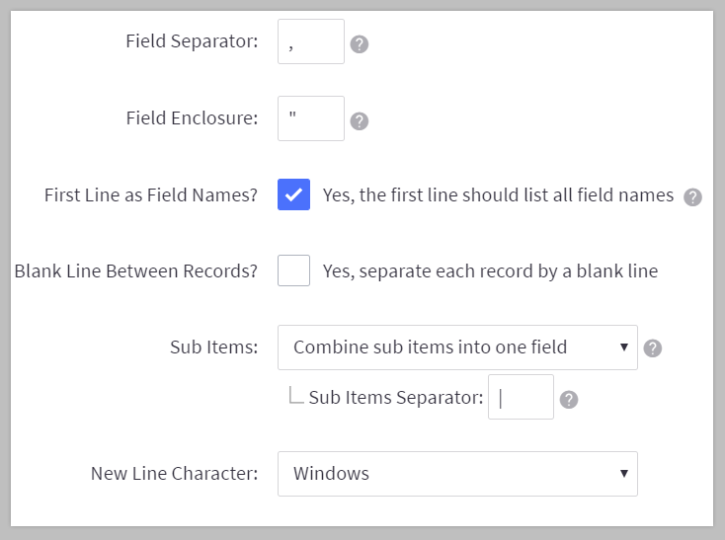
- Field Separator — assign a character to separate each field in the export. By default, this will be a comma.
- Field Enclosure — assign a character to enclose the contents of each field. By default, this will be a double quote.
- First Line as Field Names — check this option to make the first row of the export contain the names of the fields being exported, such as Product Name and Product Code/SKU. This is recommended if you plan on using the export template for bulk editing your products.
- Blank Line Between Records — check this option to separate each row of content in the export with a blank row
- Sub Items — select if you want sub-items displayed in the export as a single field, separated into multiple fields on the same product row, or to create a separate row for each sub-item. This affects fields with multiple attributes, including Category Details, Product Images, and Product Files.
- Sub Items Separator — if you’ve configured sub-items to be combined into a single field, assign a character to separate each sub-item. This must be different to the character assigned as Field Separator. By default, this will be a vertical bar.
- New Line Character — a drop-down menu to select how new lines are formatted in the export
Once you’ve enabled your desired template settings, click the Products tab at the top of the page to view the available export fields.
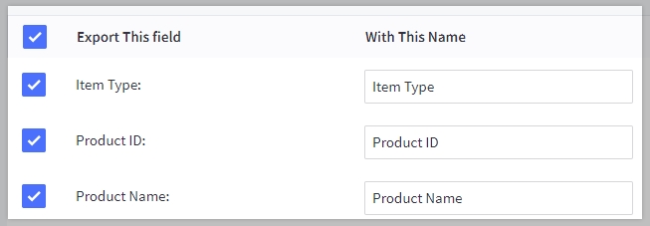
Go through and check or uncheck each field as needed. If you’re planning to use this template for creating new products or editing existing ones, make sure that the minimum-required fields are enabled. Click Save & Exit when you have made your changes.
If you need to delete a custom template, select Delete from the Action menu. Note that built-in templates cannot be deleted.

Exporting Product SKUs
If you want to view catalog inventory data, update stock levels in bulk, or manage product shipping details, exporting product SKUs is a handy alternative to creating a custom export template. This option creates a CSV file with the following product fields:
|
|
* This field is not included in the built-in SKU Inventory Management template. It can be added by creating a custom export template for SKUs.
In Products › Export Product SKUs, select your export template and configure any other desired export options, then click Continue. Unlike the standard product export, you cannot select a subset of products when exporting product SKUs.
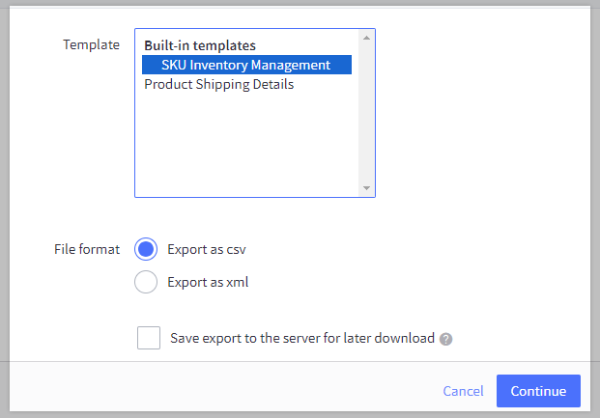
Click Start export to start the export process. When it is ready, click Download my SKUs file to save the CSV file to your computer.
