A 301 Redirect is the most efficient and SEO-friendly way of permanently redirecting an old URL to a new one. For example, if you have a page that used to be at http://mystore.com/my-old-page and is now at http://mystore.com/my-new-page, you want to make sure that anyone who goes to the old page is redirected to the new page.
Redirects optimize SEO as search engines will find that your page still exists, but has a new location. In addition, they improve the customer experience — you don't want customers to see an error page if they click on an outdated link.
Requirements
- Your store must be on a paid plan.
- You must have the 301 Redirects permission enabled in your user account.
Adding a 301 Redirect
1. Go to Settings › 301 Redirect.
2. If you have a single-storefront store, click Create Redirect.
If you have multiple storefronts, select the storefront you want to manage from the drop-down menu, then click Create Redirect.
- Domain — This field is read-only. It shows the domain of the storefront the redirect will be created for.
- Old URL — This is the URL where you are redirecting from. For example, /old-url.
- Redirect Type
- Manual Link (URL) — Specify the New URL that the Old URL should link to. For example, /new-url. If the URL that is entered in New URL ever changes, you’ll need to manually update this redirect to a different New URL.
- Dynamic Link (Page or Object) — Specify a product, brand, category, web page, or blog post that the Old URL should link to. Select your object from a list or search by partial or full name, or by SKU (if linking to a product). If the URL of the linked object or page ever changes, the redirect will continue to work.

3. When you're done, click Create.
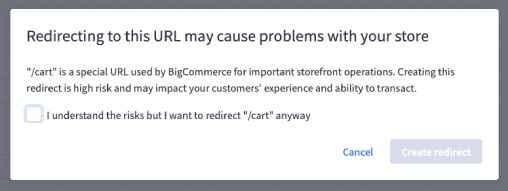
If you are redirecting from a reserved URL, you will be prompted to confirm that you are aware of the potential risks involved. Check the box and click Create redirect to proceed, or Cancel the redirect.
Managing 301 Redirects
The redirects page displays all existing redirects for a storefront domain. If you have multiple storefronts, select the store from the drop-down menu to display all redirects for that storefront domain.
The search bar at the top of the page allows you to filter the displayed redirects. Searches filter results by matching the new or old URL from left to right. For example, searching for the keyword womens will return all old and new URLs that begin with the term.
To clear the results, delete the keywords and search again. All redirects will be displayed again.

To edit, copy, test, or delete a redirect, select the option from the Actions menu (⋯) next to the redirect.

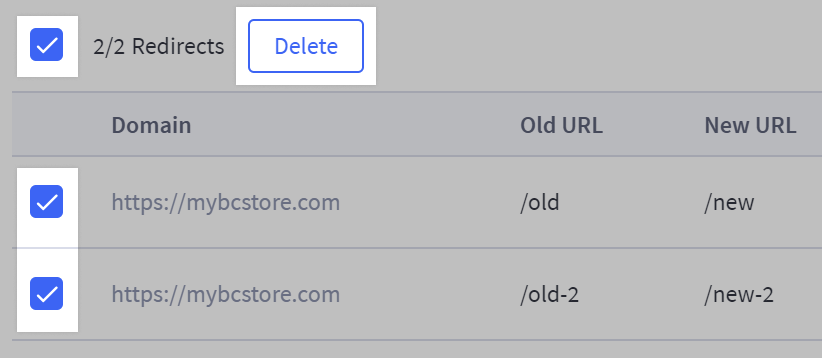
To delete multiple redirects at once, check the box to the left of the desired redirects, then click the Delete button. You can select all redirects on a page by clicking the checkbox in the top left corner.
Exporting 301 Redirects
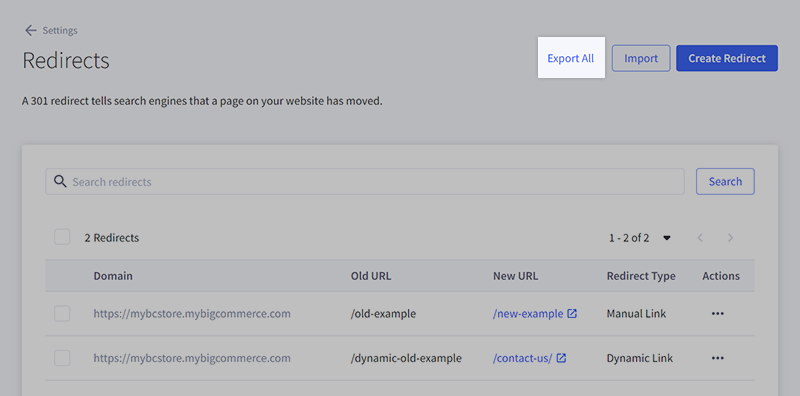
1. To export all redirects, click Export All.
2. On the next page, choose your export settings.

- Export redirects from — If you have multiple storefronts, you can export redirects from all storefronts, or a specific storefront.
- Export dynamic redirect URLs — This adds a column called Dynamic Target URL (read-only) to your CSV file that contains the URL of your dynamic redirects at the time of export. It is informational only.

3. When you’re ready, click Start export. Once the export is complete, you will be presented with a link to download your CSV file.

You can also export select redirects by checking the box to the left of the desired redirects, then clicking Export. Use the storefront drop-down and search box to quickly locate specific redirects.

Importing 301 Redirects
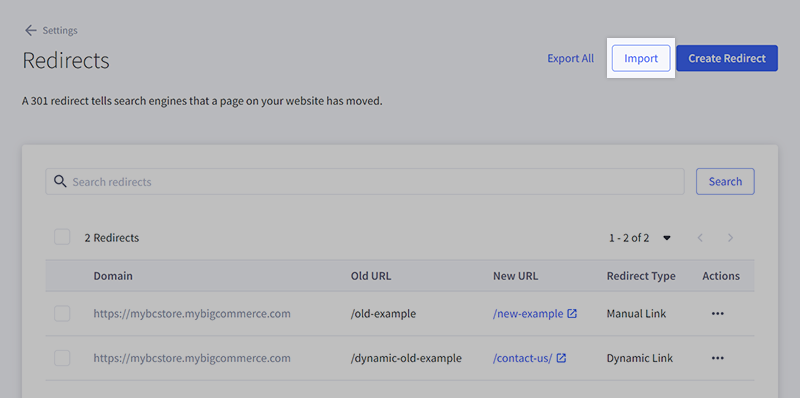
1. To import redirects, click Import, then drag and drop your file or click Choose file to select your CSV import file from your computer.
2. Click Preview. You will be shown a preview of the first row of data from the file to ensure the selected data is correct. If you selected the wrong file or need to choose a different one, click Change file.
3. If everything looks correct, click Start import.
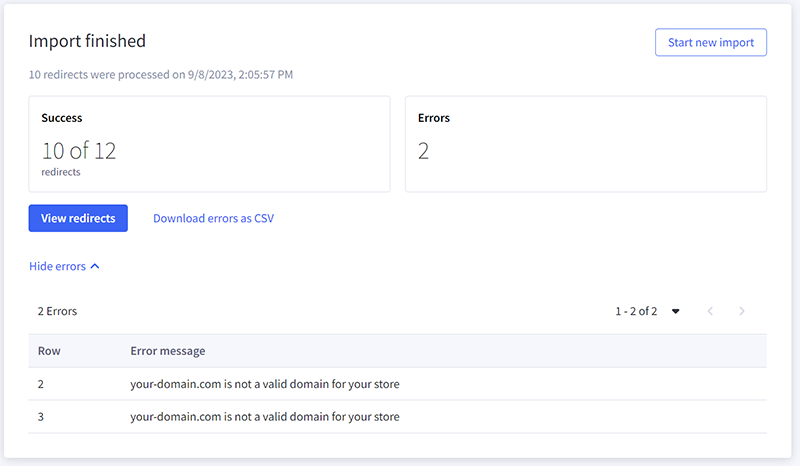
4. Once the import is complete, you will be presented with a report showing details about the import. If there were any errors, that information will be displayed in a table. You also have the option to download the error report as a CSV file.
CSV Import Data
Download the sample CSV file from the Import page for a better understanding of how redirect data is formatted.

There are 5 columns in the CSV redirect import file:
- Domain — This corresponds to the domain the storefront is using. For example, your-domain.com.
- Old Path — This is the old/outdated URL path. It should be the entire path after the domain name. For example, /old-path.
- Manual URL/Path — This is the new/updated URL path that visitors to the Old Path should be redirected to. It should be the entire path after the domain name. For example, /new-path. This field is not used for Dynamic Links.
- Dynamic Target Type — If the redirect is Dynamic Link, then the object type is defined here. This can be Product, Brand, Category, Page, or Blog Post. This field is not used for Manual Links.
- Dynamic Target ID — This corresponds to the related object ID. To locate the ID for an object, edit the object in the control panel and check the browser URL bar. This field is not used for Manual Links.

FAQ
Can I create wildcard 301 redirects in the control panel?
No, Wildcard 301 redirects cannot be created natively. These must be set up with your domain registrar.
I don't see the fields for creating or managing redirects in the control panel on my trial store.
This feature is not available on trial stores. To create and manage 301 redirects, upgrade to a paid store plan.
How do I redirect to my home page?
To set the redirect to your homepage, select Manual Link as the redirect type and type in the URL for your homepage, including the https:// portion (like https://www.bigcommerce.com/).
I'm seeing 301 redirects that I didn't create.
301 redirects are automatically created whenever the name or the URL of a product, category, or webpage is changed. You can uncheck this feature under SEO & Sharing when editing products, or under the URL and Page URL field when editing a category or webpage.

In addition, 301 redirects are created automatically when sitewide HTTPS is enabled to redirect all HTTP links to use HTTPS. This is done on BigCommerce's side, and these links will not be listed under 301 Redirects in your store. We recommend reviewing your 301 redirects periodically to remove unnecessary redirects that can lead to issues such as cross-linked products or redirect chains.
Why am I getting the error "the URL you entered is a reserved URL and cannot be used for a redirect" when trying to add a new redirect?
Some URLs are reserved in our platform for specific features and cannot be used for redirects. The following URLs are reserved.
- /index.php
- /admin
- /manage
- /graphql
If you are using a legacy Blueprint theme, there are additional URLs that cannot be used for redirects. See the table below for a complete list.
|
|
|
Can I use special characters in redirects?
Yes, the following special characters are supported: . _ + = ? : / ! @ * , & ( ) ' ] [-
When I export my redirects, why is the Manual URL/Path field blank on some rows?
As dynamic redirects are not associated with a specific URL, the Manual URL/Path field will be blank for these redirects. This is due to dynamic redirects being associated with an entity such as a product, brand, category, web page, or blog post where the underlying entity's URL can change at any time and the redirect will continue to work.
To see the entity’s target URL at the time of export, you can enable Export dynamic redirect URLs to add the Dynamic Target URL (read-only) column.


