Just like products, customer information can be transferred to another store by multiple methods. The following table lists how various types of customer information can be transferred.
| CSV Import | API | BigCommerce Apps | Manual Transfer | Non-transferable | |
|---|---|---|---|---|---|
| Customer Details | ✔ | ✔ | N/A | ✔ | X |
| Addresses | ✔ | ✔ | N/A | ✔ | X |
| Custom Form Fields | ✔* | ✔* | N/A | ✔* | X |
| Data Preferences | X | ✔ | N/A | ✔ | X |
| Passwords | ✔** | X | N/A | X | X |
| Store Credit | ✔ | ✔ | N/A | ✔ | X |
| Customer Groups | ✔*** | ✔ | N/A | X | X |
| Customer Attributes | X | ✔ | N/A | X | X |
| Stored Payment Methods | X | X | N/A | X | Stored payment methods on a customer account cannot be transferred |
*Custom signup and address form fields must be created in the destination store before migrating their existing values in customer accounts.
**Passwords cannot be exported from the store, but you can manually set a password via CSV import.
***Customer groups can be created via CSV import, but information like Group Access and Discounts can only be transferred via the API.
Before following the steps in this chapter, we recommend you review our article on importing customers.
Export Template Details
After creating your custom export template using the steps from the second chapter, make the following selections for transferring customers.
Check the box next to Enable Customers Exporting? in the list of Export Options.

In Advanced CSV Export Settings, select Expand sub items across the csv from the Sub Items dropdown.

Click on the Customers tab at the top of the page and uncheck the following fields:
- Customer ID
- Address ID
- Form Fields (if you have custom form fields and haven’t recreated them in your destination store)
Exporting from the Source Store
After creating your export template, use the following instructions to export customer information from your source store.
Go to Customers › Export in the source store's control panel.
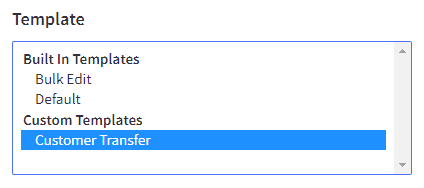
For Template, select your custom export file, then click Continue.
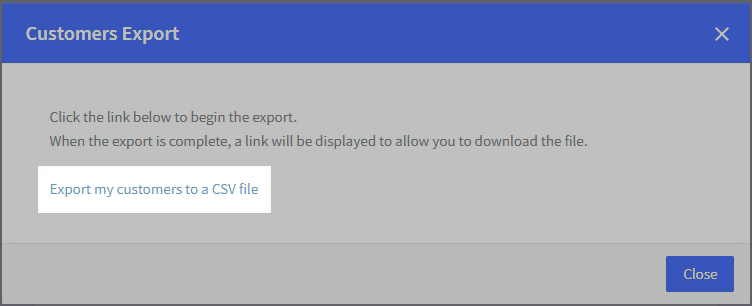
Click Export my customers to a CSV file on the popup.
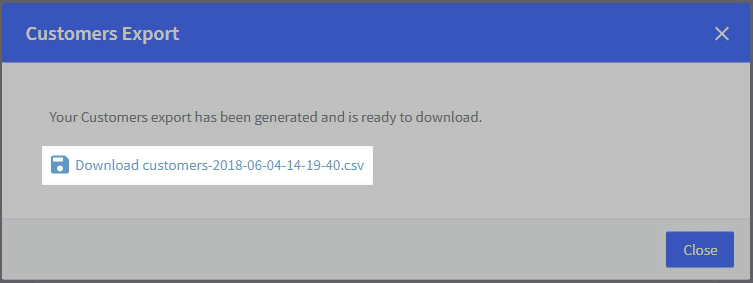
You will see a progress bar as your customers are generated. When it is complete, click the download link.
Customer passwords cannot be exported via CSV file. Follow the instructions in Exporting/Importing Passwords to modify your CSV file for importing passwords. If a customer is imported without a password, they will need to go through the password reset process.
Importing to the Destination Store
Now that you have your CSV of customer information, you can import it to your destination store with these steps.
In the destination store's control panel, go to Customers › Import.
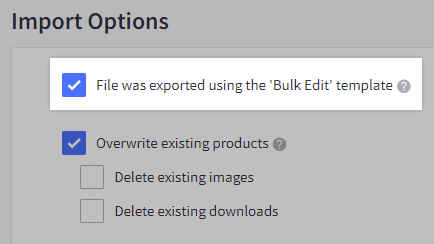
Check the box under Bulk Edit Re-Import? Even though you are using a custom template instead of the Bulk Edit template, checking this box will preselect the necessary Import Options to ensure a smooth customer transfer.
Next to Import File, click Choose File and select your exported customers file.

Click Next. In the Link Import Fields page, confirm that the customer fields are matched with the corresponding column names in your CSV. For fields you are not transferring (such as customer ID), make sure they are set to Ignore.
When you are finished, click Next, then Start import.

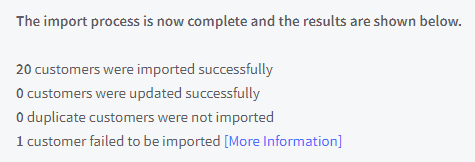
When your file finishes importing, you will see an import summary. If there was an issue when importing, click More Information to see any errors generated during the import.
FAQ
Can I transfer Customer Attributes from one store to another?
Yes, Customer Attributes and their customer-specific values can be returned and recreated via the API only. For more information, see our documentation on Creating Customer Attributes in the Dev Center.


