Your BigCommerce trial store gives you 15-day access to almost all of our features, including some that are only available on specific BigCommerce plans. Start your free 15-day trial today from the BigCommerce homepage or by logging into the Account Dashboard if you already have a BigCommerce store.

Features
To help you in setting up your entire store and have it ready to start selling the moment you choose to launch, customer groups and the Abandoned Cart Saver are available on your 15-day trial. These features are only available on certain BigCommerce plans.
Once you decide to upgrade to a paid store, any features not available on your plan will become unavailable unless you upgrade to the appropriate plan. Review our pricing for more information on BigCommerce plans and their features. BigCommerce does not take any payment until you are ready to upgrade.
The following features will be unavailable on your trial store. They are only available after upgrading your plan, if that store plan supports them:
- Adding a custom domain to your store
- Installing a Third-Party SSL Certificate
- 301 Redirects
- Product Filtering
- Stored Payment Methods
Creating a Trial Store
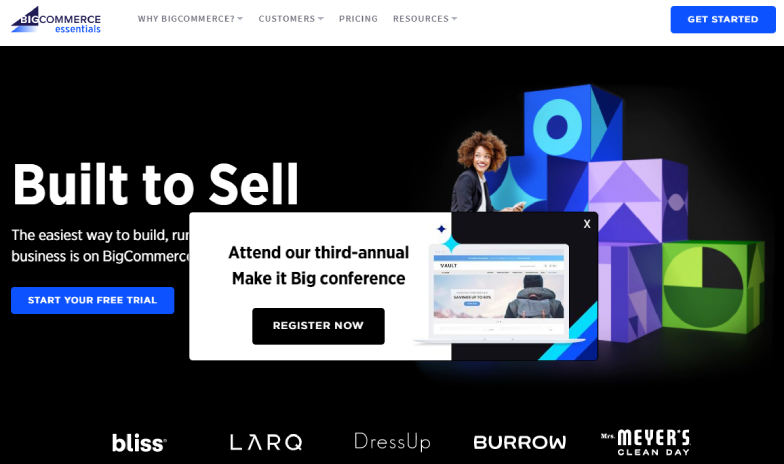
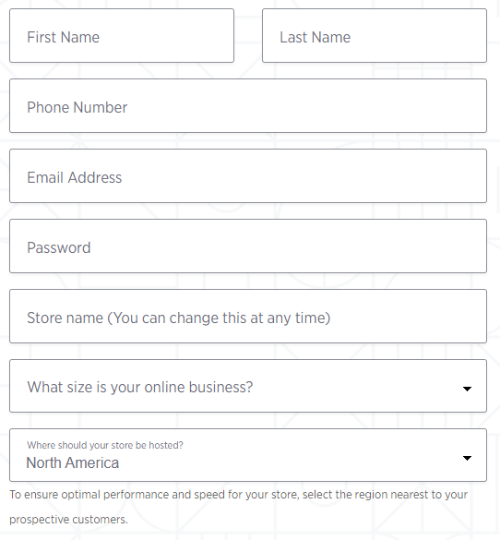
To create a trial store, go to the BigCommerce homepage and click Get Started. Enter your email address and click Continue to Store Details. Fill the form with a store name, a password, your first and last name, a phone number, the size of your business, and the region your store should be hosted. Click Create Your Store when you're ready. The store name can be changed at any time after starting your trial.
Once you have selected a hosting region for your trial store, it cannot be changed. To ensure optimal site speed and performance, select the region nearest to your prospective customers.
If you're attempting to add a trial to an existing BigCommerce account, you'll need to enter the same email and password you currently use.

First Login
Once your trial is created, you'll be taken to your store's dashboard. The dashboard will list the next steps to get your store up and running. Begin by clicking the buttons below each action item or by using the main menu on the left.
All BigCommerce trials are not visible to the public when they are created. This keeps search engines from indexing your store while still in development and people from browsing your store before it is ready to launch. The store will not go live until you go to Channel Manager, click the ⋯ button next to your storefront, and select Make active.

See our Store Launch Guide for more information on preparing your store for launch. If you're more interested in getting your trial up and running quickly for testing, refer to our Quickstart Guide.
Adding a New Trial Store to an Existing Account
If you already have a paid store or trial, you can add a new trial to your existing account directly from your BigCommerce Account Dashboard.
To reach the dashboard from within the control panel, go to Account Settings › Account Overview. The BigCommerce Account Dashboard can also be accessed directly by going to manage.bigcommerce.com.
Note that only the store owner can access the Account Dashboard.
Once you're in the account dashboard, click the Add New Store button.

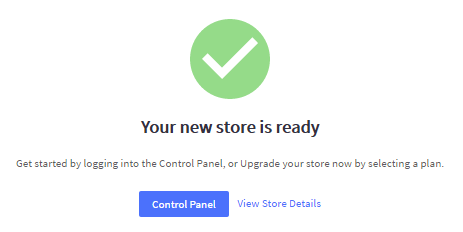
Enter details about the new trial store, then click Add New Store. After a few seconds, your new trial store will be created. From here, you can log into the new store's control panel or view its details.

Cancelling a Trial Store
There is no action needed to cancel a trial store. The trial will automatically expire after the 15-day trial period. You will never be billed for a trial store.
FAQ
How do I create a new trial if I already have an account?
Either you can create an account from the BigCommerce homepage and use your account email and password during store creation or follow the steps in Adding a Trial to your Account.


