In this guide, we'll go over the essential steps needed to get your store up and running as quickly as possible. We’ll be focusing on the minimum setup required to receive orders through your storefront. This is ideal for those looking to create a working demo or trial store without the need for a fully functioning store.
If you're looking for a step by step walkthrough to launching a full store, see our Store Launch Guide.
Spinning up a Trial Store
If you haven’t signed up already, head over to bigcommerce.com and click Start a 15-Day Free Trial. We’ll ask you for your email address, some contact information, the name of your store (you can change it later), and a password for accessing your control panel. A credit card is not necessary to start a trial and launch a store. When the process is complete, you’ll be logged into your new store’s control panel and will receive a welcome email.
Products
Since the goal of this store is to get up and running quickly, we recommend keeping the sample products. They are perfect for testing the checkout flow. Some of them, like the Fog Linen Chambray Towel, come with prebuilt product options allowing you to test a full range of products.
Currency and Payment
When you first create your store, your default currency is assigned based on your location. You can enable additional currencies to display prices and allow transactions where your frequent customers live.
To get started, you can use the Test Payment Gateway to simulate capturing payments.
The Test Payment Gateway will process an order without charging a card and is enabled by default when the store is created. With the Test Payment Gateway, you don't need to use a real credit card. You can use 4111 1111 1111 1111 for the card number and enter any values for the name, expiration date, and CVV.
When you're ready to accept payments online, we have many of the most popular payment gateways and digital wallets for setup based on your store country and currency.
Shipping
To keep things simple, we recommend enabling one shipping option — Flat Rate or Free Shipping. You'll first need to specify your Shipping Origin by going to Settings › Shipping. The Shipping Origin is required to calculate shipping rates at checkout when you connect shipping services and to continue the shipping setup.
If you're setting up shipping for the first time, you'll be prompted to choose a label service. For this guide, you can skip this step of the setup process.
Afterward, you'll be taken to the Shipping page. Here is where you will set up your shipping option. New stores come with a United States shipping zone already created, so all you'll need to do is Configure the zone. This will let you toggle on Free Shipping or the Flat Rate option. Enabling either one will get your shipping up and running for testing.
If you're not based in the US and wish to set up shipping for a different country, create a new zone or edit the existing one to suit your needs.
Tax
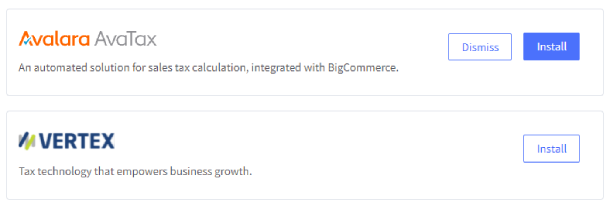
The last thing that you'll need to set up is tax collection. To get up and running quickly, we recommend setting up automatic tax collection. We've integrated with popular tax service providers like Avalara and Vertex to make calculating sales tax easier to manage.

As you can see, most of the work like products, currency, and payments are already set up for you when the store is created. All that's left is to put the finishing touches and fire up your demo or trial store.
Once you've tested the store's checkout functionality, be sure to review our Store Launch Guide to get a complete overview of all the steps you'll need to get a fully functional store online.


