Having a solid customer-focused returns policy will not only reduce the time and resources spent on returns, it also shows you're committed to customer service and the buying experience. Additionally, customers will have confidence in your brand and will be more likely to buy more if they know they can quickly return an online purchase.
Once returns are enabled, customers will be able to submit return requests from their storefront account area. While BigCommerce does not generate return labels from the control panel, you can use apps to offer this feature to your customers.
Requirements
- To access Return Settings, the Manage Settings permission must be enabled on your user account.
- To process returns, the Manage Returns permission must be enabled on your user account.
Return Settings
Return settings are located under Settings › Returns in the control panel.
The returns system can be enabled by checking Yes, enable returns requests. Once activated, customers will be able to submit a return request from their account.

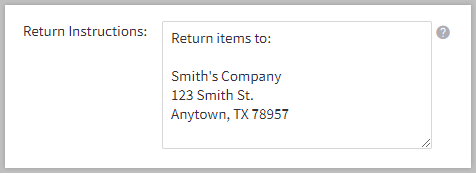
The Return Instructions field can be used to provide direction after the request has been submitted. Use this to outline what customers can expect from you, or what the procedure is for a return or exchange.
The Return Reasons field is where you provide your customers a list of acceptable reasons for returns.
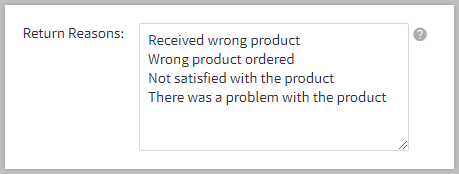
Customers will have to select one of these reasons when making the return request. Each reason should be entered on a new line. Feel free to use the default ones provided for you or to introduce new ones that better fit your business. Some of the top reasons customers return merchandise are:
- Wrong product ordered
- Product was not what was expected
- Incorrect gift purchase
- Damaged product
- Received wrong product
- Product no longer needed
The Return Actions field is where you can list the available resolution actions that a customer chooses from when submitting a return request.
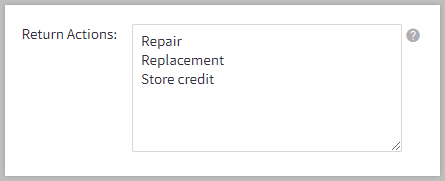
Each action should be entered on a new line. Feel free to change the default actions to reflect your returns policy. The default actions are Repair, Replacement, and Store Credit.
Check the box to reset the Return Reasons and Return Actions to their default values. This setting, once saved, will also automatically translate the default values to your store’s language.

Enabling Allow Store Credits will give your staff the ability to issue store credit for returned items.

Pro Tip! Returns don't always need to end with a refund. Offering alternatives, such as exchanges or store credit, can ensure the customer gets what they need while saving the original sale.
Return Notification Settings
The Return Notifications settings allow you to control which notifications get sent to you and your customer regarding a return.

Return notification emails are sent to the email address listed in the Store Profile.
The email templates used to generate the customer notifications can be found in Marketing › Transactional Emails. The merchant return notification email template cannot be edited.
- Return Requested — sent to the customer when they request a return.
- Return Status Change — sent to the customer when their return request status is updated by a store administrator
Localized Store Experiences: This feature is available for all of our supported languages. For more information on the default language store setting, see Store Profile Settings.
Creating a Returns Policy Page
Having a page on your site that details how you handle shipping and the return of products is important to increase shopper confidence and conversion. It can also reduce costs in the long run by setting the proper expectations should they not be satisfied with their purchase.
To create the page, go to Storefront › Web Pages. Follow the steps in Adding Web Pages and set the Page Name to “Shipping and Returns Policy” or something similar.
When creating the page, be sure to set your site navigation appropriately. It's important that your returns policy be completely transparent and not hidden under an FAQ or Help section.
Pro Tip! Don't be afraid to promote your return policy in your order confirmation emails, receipts, and packaging. It's a great marketing tool and shows you stand behind your products or services.
Best Practices
The content of your shipping and returns policy should be an extension of your company and align with your core philosophies. The writing style does not have to be too formal since this is not a legal document, but it should include some basic information such as shipping timelines, warranty information, and frequently asked questions.
Here are some things to keep in mind when creating or updating your store's return policy:
- Never copy and paste your returns policy from another source. Tailor it to your specific needs and target audience.
- Avoid complicated legal jargon. Use plain language.
- Include keywords and testimonials in your policy page. Use your policy page to boost your SEO.
- Avoid negative phrases like "you must" or "we're not responsible for." The return experience should be hassle-free.
- Return policies are for customers, not your business. Be empathetic and understand that returns happen.
Customer Return Process
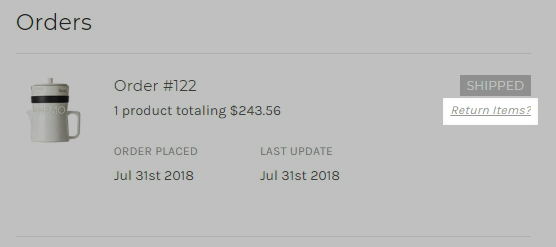
Customers can submit a return request by logging into their customer account on your storefront, finding the order they wish to return and clicking the Return Items link. Return requests are not able to be submitted for orders that have already been refunded, partially refunded, or have not been fulfilled.
Next, they will need to specify the Qty To Return, Return Reason, and Return Action. They also have the option to leave a comment.
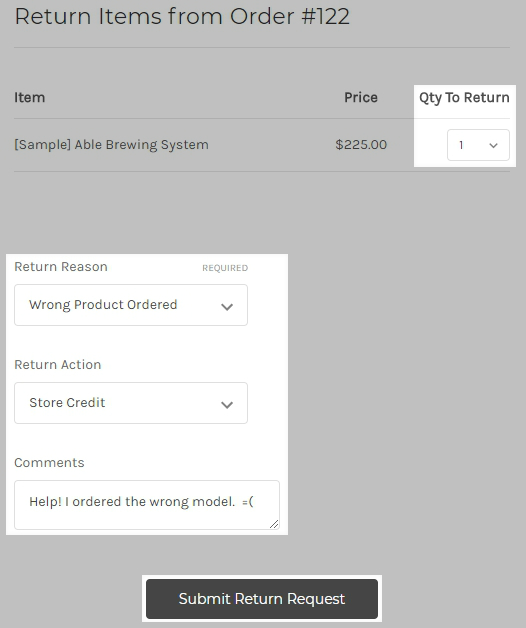
After submitting the request, they will see the Return Instructions that you specified in your return settings and receive the confirmation emails you enabled in the Return Notifications settings. If enabled, a notification email is also delivered to the email address specified in your Store Profile settings.
Processing Return Requests
If you receive a return request, you will see a notification on your dashboard when you log in to your BigCommerce control panel.
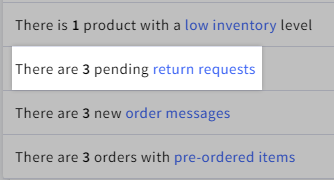
To view a return request, click the dashboard notification or go to Orders › Return Request.
The View Return Requests page will show you various details about the return such as the item, order number, and customer name, as well as the date that it was submitted. Each returned item will show as a separate line item with its own Return ID.

Expanding the return request will provide additional details, such as the Reason for Return, Requested Action, and Customer Comments. You also have the option to add notes that will only be visible to you and your staff.
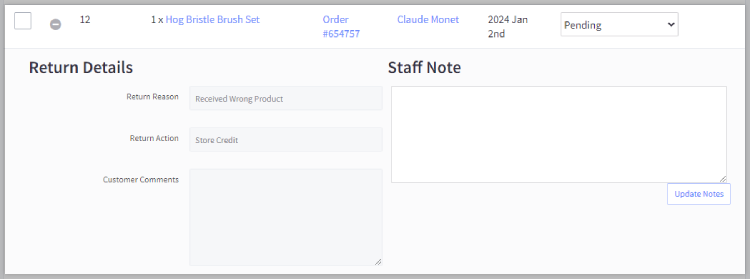
If a return request will result in a refund or store credit, follow these steps:
- Click the Order # to view the order.
- Refund the order.
- Change the status of the return request to Item(s) Refunded.
Complete any refunds before updating the status: Setting a return request to Item(s) Refunded before completing the refund will disable the ability to refund the order through the order's refund action. In this situation, the refund or partial refund will need to be made through your payment gateway's dashboard.
If you wish to issue store credit instead of an actual refund, select Store Credit as the refund method when refunding the order. See Processing Refunds for more information on issuing refunds from the control panel.
If the return request will result in a different outcome, change the status to whichever of the following applies:
- Pending
- Received
- Return Authorized
- Item(s) Repaired
- Request Rejected
- Cancelled
If enabled, customers will receive a notification email when you change the status of a return request. You can customize this email by going to Marketing › Transactional Emails and editing the Return Status Change template. See Customizing Emails for more information.
Recommended Apps
BigCommerce integrates with many shipping and fulfillment apps that can handle all of your shipping and label needs. Shipping partners such as AfterShip and ShipStation allow your customers to initiate and create return labels on your own branded returns portal. Transforming the return process into a self-service portal saves you time and ensures a consistent and hassle-free experience for customers.


