Once you’ve chosen your theme and planned the extent of your customizations, it’s time to get your store ready for the design upgrade. Below, we have a series of recommended actions to take before switching to a new theme.
Back up your Current Theme
It is strongly recommended that you create a backup of your current theme as it is. This provides you with a working theme to fall back on if you experience a major issue when you change themes.
If you have made any customizations to your Blueprint template files, it is imperative that you save a copy of them before upgrading to Stencil. All Blueprint customizations are lost upon applying a Stencil theme.
To back up your Blueprint theme and any customized template files, follow the instructions in Backup Settings.
Confirming Installed Apps are Stencil-Compatible
All apps currently available in the App Marketplace work with the Stencil theme platform by default. However, any apps that require you to paste code into a theme file will not transfer over to your new theme.
Take note of the apps you currently use, then check Integrating Apps with Stencil Themes to see if there are any extra steps necessary for getting your app to work after the theme change. Apps will include their own installation instructions.
If you are using a legacy app that is only compatible with Blueprint themes, search the App Marketplace for an alternative.
Checking the Template Files
On legacy Blueprint themes, custom code is often placed in the template files for your header and footer. These won’t transfer to your new theme. Check whether these files have any code added that you might want to use on your new theme. For more information on locating custom code, see Customizing Blueprint Themes.
Some customizations no longer need custom code because in Stencil themes, it is handled natively in Page Builder. For example, if you want to display credit card logos or remove "Powered by BigCommerce" from transactional emails, you can change these by using your theme settings.
With Blueprint themes, custom CSS styling and configurable field sizing can be applied to your account signup form fields from the control panel. To carry these customizations over to a Stencil theme, you will need to add them to your theme files. Note that Maximum Field Length is supported in Blueprint and Stencil themes without customization.
Comparing Image Requirements
Each theme has a set of recommended dimensions for different images in your store, such as those found in the homepage carousel or on product pages. These are managed from your Image settings in Blueprint, and in Page Builder for Stencil themes.
It is important to check the default image preferences in your current and prospective themes before upgrading, as differences in aspect ratio or maximum size can cause your images to appear blurry or distorted.

To maintain your aspect ratio and prevent image distortion, you can adjust your theme’s image settings. However, if your new theme’s default dimensions only affect a handful of images, you may find it easier to edit the images themselves.
Reviewing Checkout Type
Many of Stencil’s design and performance enhancements to your checkout page are built to work with Optimized One-Page Checkout, such as:
- Customizing color, font, and logo display in Page Builder
- Limiting visible shipping countries without editing code
- Implementing popular local payment methods
- Adjusting the appearance of digital wallet options like PayPal Checkout and Venmo
If you are currently using Legacy Checkout, we recommend upgrading to Optimized One-Page Checkout using these instructions.
Working with a Design Partner
If your theme transition involves code-level customization, it can be beneficial to work with someone with expertise in web design and the BigCommerce platform. Even for smaller design changes, having an expert on your side can provide unique insights that can greatly improve your storefront appearance and conversion rate.
Finding a Partner
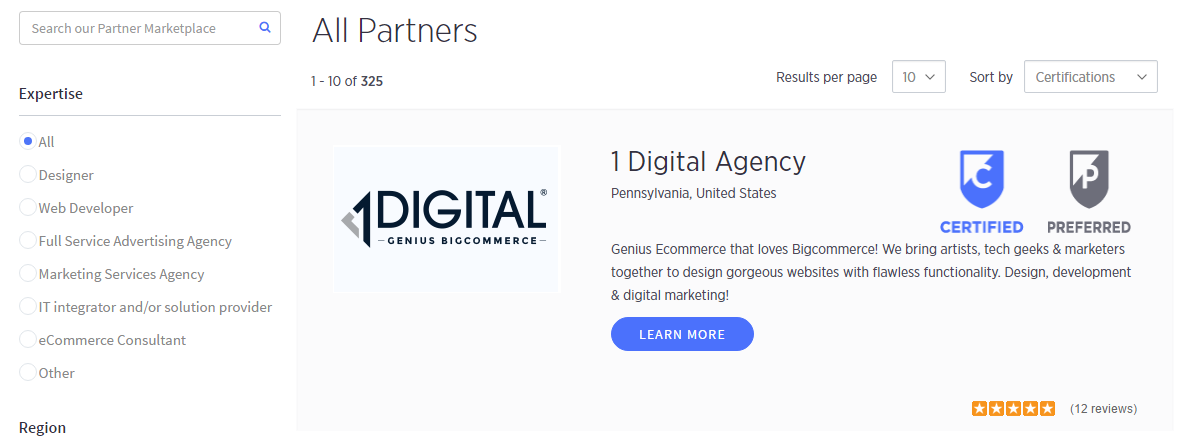
If you don’t already have a dedicated web designer, BigCommerce works with partners who know our platform and make it easier for you to find someone to help with your design needs. For large-scale development projects, our Partner Directory is a good place to start, as it provides a listing of our current partners, with filters for expertise, region, and services offered.

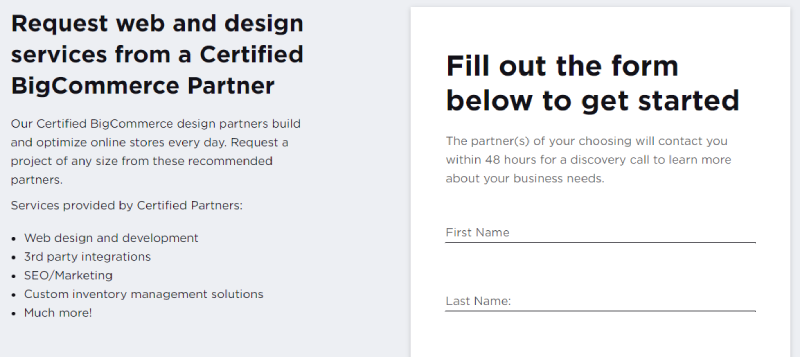
Our Agency Design Request program is an excellent resource for smaller customizations. Simply fill out the form to get started, and the partner or partners of your choosing will contact you within 48 hours to discuss your business needs.

Preparing for Design Work
Before working with a design partner, download a copy of your new theme to act as a backup of any store design changes in Page Builder. Note that widgets and layers will not be saved in the copy.
If you have an Enterprise plan store, you can contact our technical support team to request a sandbox store. This acts as a separate design environment and allows your design partner to test theme customizations and adjust settings without altering your active store.
Create a user account for the designer so that they can access your control panel, then enable the permissions you think they would need. We recommend giving them access to the following permissions:
- Manage Channels
- Manage Banners
- Manage Pages
- Use Image Manager
- Store Design
- Design Mode
- Enable WebDAV
Do not make the designer the store owner! To protect your privacy, including your credit card and other personal information, never set the designer user as the store owner or give them your login credentials. If the designer needs to contact our technical support team, they can submit a case from the Partner Portal.
A few tips for working with a partner on your theme:
- Tell the designer about any apps that need code added to the theme. A designer will not have access to those apps, so make sure you can send them the code necessary to make it work.
- Send a copy of your Blueprint theme that you have saved if there are any customizations you want to transfer to the new theme. This gives the designer a good reference to work from when moving customizations from one theme to another.
- Hold off on adding any new apps until after the new design is applied to the store. You can keep your store live and do theme development without affecting store functions. However, if you would prefer to prevent shoppers from navigating the storefront and making purchases during this time, you can put your store into maintenance mode.
- Make sure you have a reliable method of contacting the designer. Keep communicating throughout the whole process.
Tracking Changes
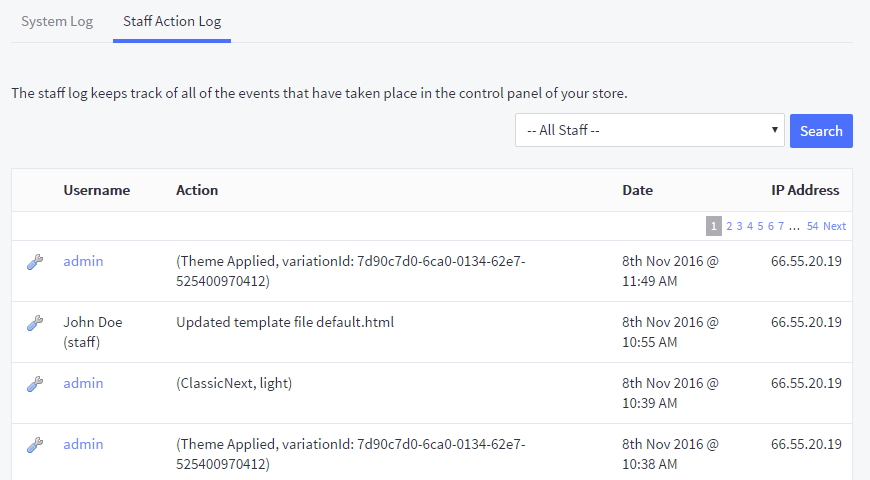
In your Staff Action Log, you can view a report of when the designer logged in to their user account and what general actions they took in the control panel. This can help you to keep track of changes to your store and it can aid you in troubleshooting if any issues arise.

In the Staff Action Log, you can see when your designer:
- Publishes changes to the currently-applied theme
- Applies a new theme to the storefront
- Creates, edits, or deletes web pages
- Creates, edits, or deletes scripts in Script Manager
- Updates store settings
The Staff Action Log will not tell you:
- What edits were made to your theme, scripts, or pages
- Which store settings were updated
- When the designer uses developer tools like the Stencil CLI
In the next chapter, we’ll walk through the steps of previewing, applying, and testing your new theme on the storefront.


