Importing and exporting products lies at the heart of your business. Whether you are migrating your catalog from a different platform, adding new images to multiple products, or updating your inventory, importing is the quickest way to make these changes through the BigCommerce control panel.
Our product import tool makes it easy to manage your product and variant details in bulk. You can update images, inventory, custom fields, and other attributes for your entire catalog, or for a subset of products. When importing new products, you have the flexibility to add all product information to the CSV file, or to provide only basic information and further edit your products in the control panel.
This guide covers the modern experience for importing and exporting products. To learn about the legacy Import/Export experience, see our Guide to Legacy Product Import/Export.
In this guide, we will discuss how to add and modify products via CSV import, how to export specific products from your BigCommerce store, troubleshooting import errors, and the product attributes that can be imported and exported.
How Product Import/Export Works
BigCommerce uses comma-separated values (CSV) files to import and export catalog data. You can obtain a CSV file formatted for product import by exporting your existing products, or by downloading a copy of our sample template if you are importing your catalog for the first time.

When importing existing products, the import tool uses the ID field in the CSV file to sync your changes to the products in your store. Certain product attributes, such as variants, images, and custom fields, also have IDs which must be included in order to sync their information as well. When creating new products or adding new attributes to existing products, the ID fields should be left blank as IDs are automatically assigned upon import.
In your CSV file, you can remove any columns containing information you don’t plan on adding or editing, as long as they aren’t required. You can also edit existing products and add new ones from the same file. If you’re importing products for the first time, we recommend starting with a test product to familiarize yourself with the process without affecting your live catalog.
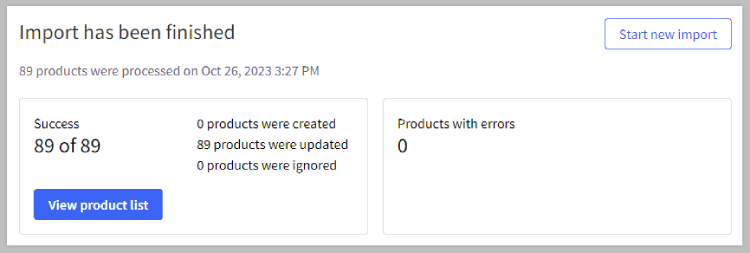
In Products › Import, you can upload your CSV file and preview the first product listed within before starting the import process. Once done, you’ll receive a summary of the number of products successfully imported, as well as a list of any import errors that occurred.

You can export a CSV file of your entire product catalog from Products › Export, or select specific products for export from Products › View. Regularly exporting your products is a great way to back up your catalog, in case you need to restore any information. When you export your products, all exportable information fields are included in the CSV file.
What’s New
While the latest integration still uses CSV files for importing and exporting products, there are some functionality differences between it and the legacy Import/Export. The modern Product Import/Export experience provides the following improvements:
- Simpler, user-friendly workflow for importing and exporting products and variants
- Ability to import and export variant-level attributes directly on the variant row. You no longer need to create an additional "rule" row to manage attributes for variants.
- Flexibility in importing product attributes. For example, you can update SKU and inventory or SKU and prices, each in a single import.
- Creating variants based on all supported option types (swatch, radio button, rectangle, dropdown, pick lists)
- Uploading data in the background, allowing you to navigate to other areas of the control panel during import
Need to manage stock across multiple locations? You can use the inventory template that is specifically designed for this purpose. See Importing and Exporting Multi-Location Inventory for more information.
The modern experience does not support:
- Custom export templates
- XML export files
- Uploading a file from the server, via WebDAV
- Specifying "Field separator", "Field enclosure", and "Ignore blank values"
- Uploading data without headers
- Configuring the import preview; you must manually match the data, using columns
- Importing files for digital products
- "Category name" is not supported in CSV files. Instead, the "Category ID" field is used.
- Categories cannot be created by CSV import. You can only assign pre-existing categories to products.
- Modifier options or customizations
- Assigning shared variant or modifier options
In the next chapter, we’ll cover the CSV file requirements for importing new products and walk you through the steps of performing your first product import.


