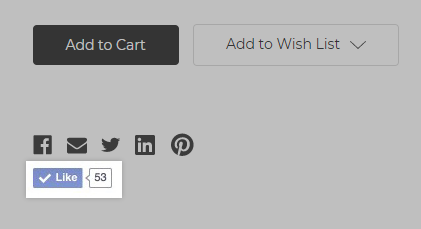
Adding a Facebook "Like" or "Recommend" button to product and blog pages lets your customers promote and share your products and content with their own friends and family. Use the steps below to add a Facebook Like or Recommend button to your store’s homepage, product pages, and blog posts.
Adding the Facebook Like Button to Product and Blog Post Pages
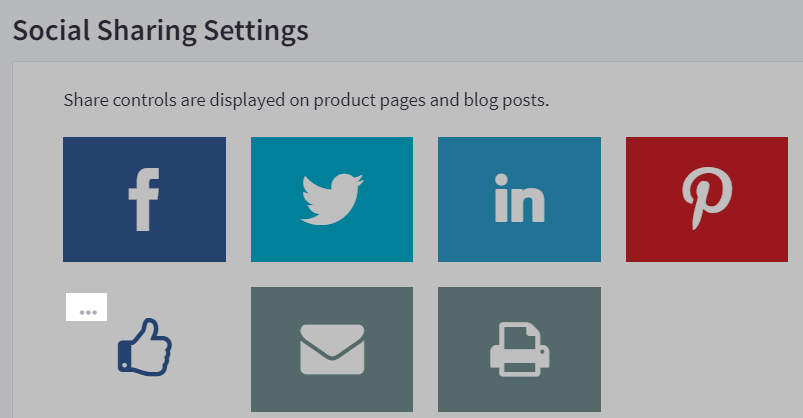
Go to Settings › General, then click the Share tab. Enable the Facebook Like/Recommend button setting by clicking the “thumb up” Like icon. Then click the settings (...) icon in the upper left of the button.
Fill in the Admin User ID for your business' Facebook account. You can locate this by navigating to your Facebook wall, copying the URL, and pasting it into a Facebook ID checker, such as findmyfbid.com.
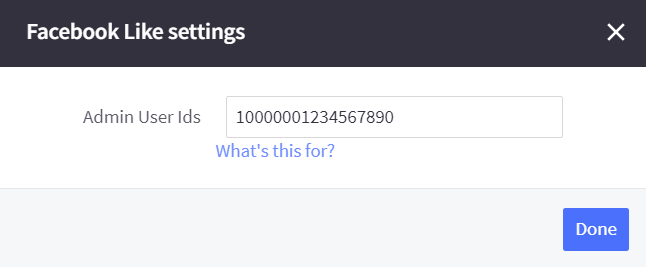
Additional layout options appear in the popup if you are using a Blueprint theme. Layout settings are handled in Page Builder for stores on Stencil.
Click Done, then Save to keep your changes.
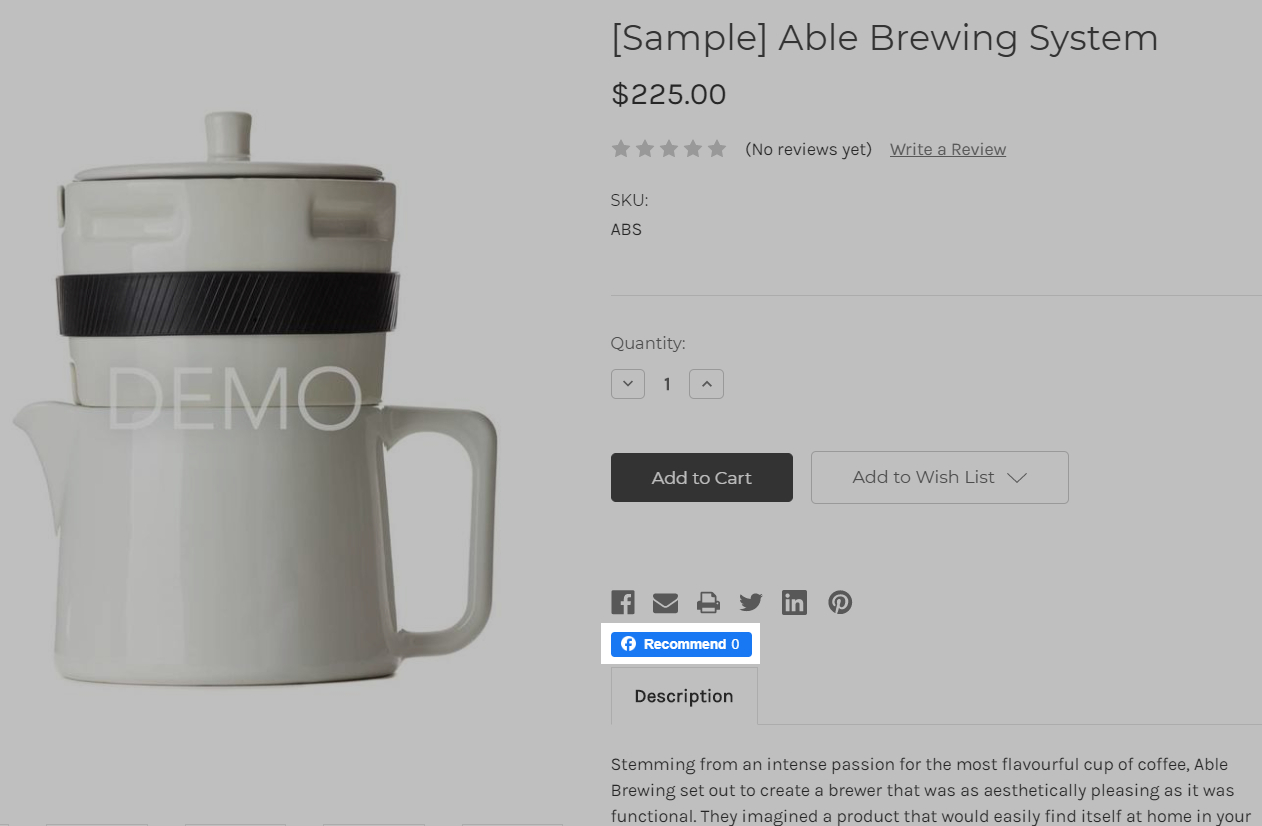
Adding a Facebook Like Button to your Homepage
Note: Be sure that you are logged into your Facebook account prior to going through these steps.
Go to the Facebook Like Button page. In the URL to Like field, enter your Facebook page URL. If you don't have a Facebook page, you can use your store's URL. Be sure to include http:// or https:// at the beginning of the URL.

Choose a button style from the Layout drop-down. The preview area below will update to show you an example of each layout type as you select them.

Select like or recommend from the Action Type drop-down. The preview area below will update the button text.

Uncheck the boxes marked Show Friends' Faces and Include Share Button to disable those features.

Click the Get Code button.

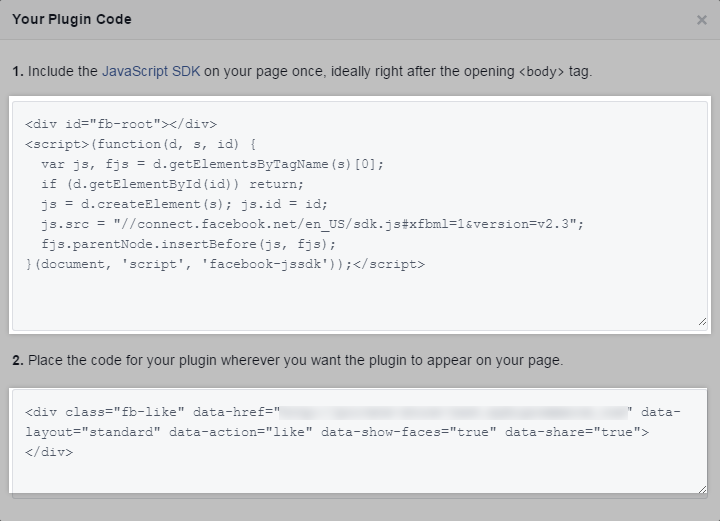
A pop-up with the like button code will appear. Keep this code box open. You will need it a little later in the process.
Adding the Code to a Banner
In a new tab or window, log in to your BigCommerce control panel. Go to Marketing › Banners, then click Create a Banner.
Enter a name for the banner in the Banner Name field. This is only visible to you, and will never be seen by your customers.

At the top of the Banner Content field, click the Edit HTML Source button.

In Facebook, copy the code from the top box of the Your Plugin Code pop-up.
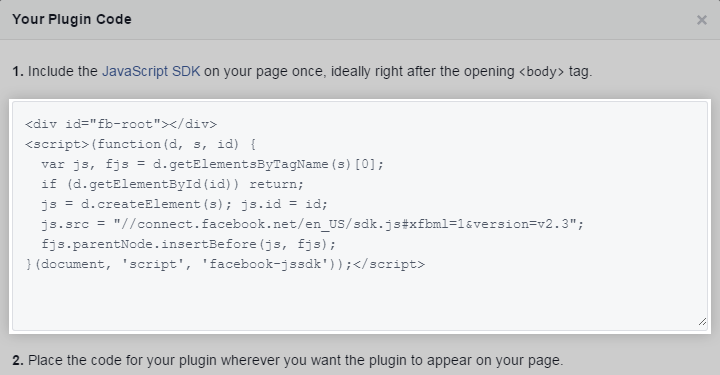
In your BigCommerce control panel, paste the code in the HTML Source Editor pop-up.

In Facebook, copy the code from the bottom box of the Your Plugin Code pop-up.
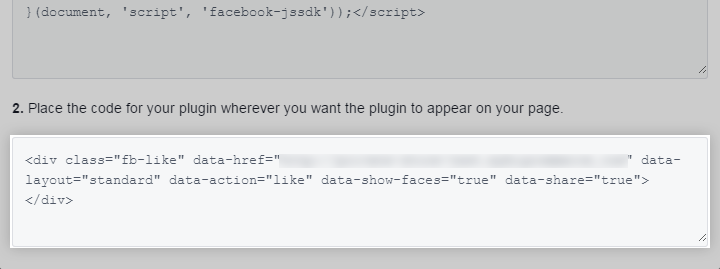
In your BigCommerce control panel, place your cursor at the very end of the first code you pasted, then press Enter or Return twice. Paste the second code you copied from Facebook, then click Update.

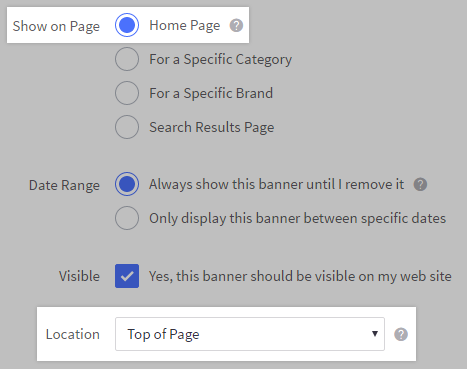
After clicking the Update button, the Banner Content field will still appear to be empty. Scroll to the Show on Page list, then select Home Page. From the Location drop-down, select Top of Page.
Save your changes. The button will now be displayed on your homepage.
