Using the Image Manager
What We'll Cover
The Image Manager provides a space for you to upload images and photos from your computer to your BigCommerce store. Uploaded images can be placed into product descriptions, categories descriptions, web page content, blog posts, or any area that uses the WYSIWYG editor. The URL of an uploaded image can be used to share the image outside of your BigCommerce store, for example, in an email newsletter.
The Image Manager is compatible with the v2 Product Add/Edit experience, allowing you to use uploaded images as product photos. If your store is using the v3 experience, see Adding Products (v3) for more information on adding product images.
Image Requirements
Images must meet the following requirements to successfully upload to the Image Manager. Attempting to upload an image that does not meet these requirements can cause unexpected behavior.
- Image file names must be alphanumeric, and cannot contain any spaces or special characters.
- Supported file types are JPEG/JPG, GIF and PNG.
TIF and PDF files are not supported. You can upload PDFs and other files not supported by the Image Manager by uploading them via WebDAV and linking to them from your store.
Images cannot have the same name. Images with the same name will fail to upload.
Uploading
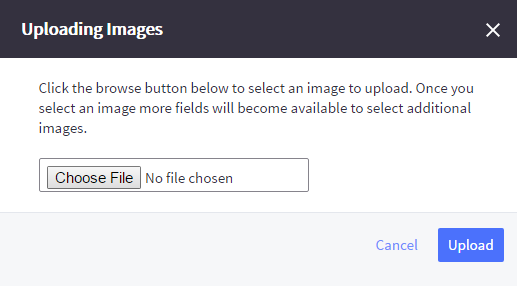
Adding images to the Image manager can be done from the control panel at Storefront › Image Manager, then clicking Upload Images.

In the popup that appears, click Choose File (or Browse) and select an image from your computer. Repeat for each additional image, then click Upload.
Pro Tip! If you have a large number of images and want to add more than one at a time, you can upload them all to the Image Manager quickly using WebDAV. In WebDAV, put the images in the product_images/uploaded_images folder.
Viewing
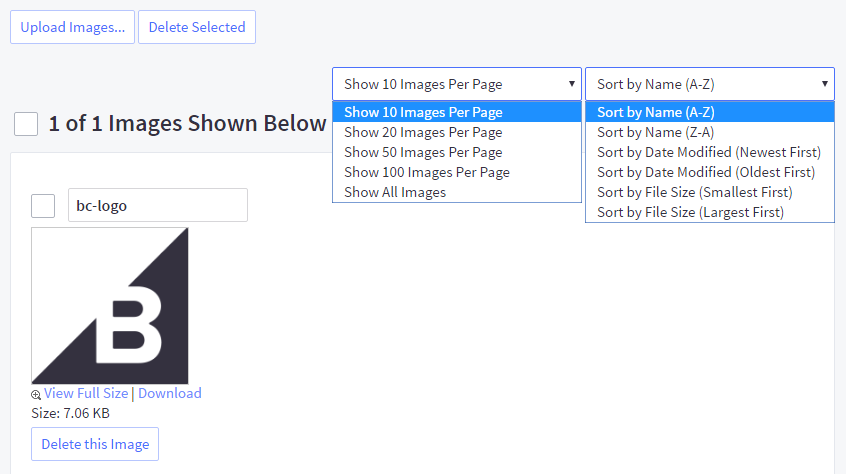
In the upper right of the Image Manager page, there are two drop-down menus that allow you to choose how many images are displayed at once, and how they are sorted. You can sort by name, file size, or date modified. This will help you to navigate large collections of images.
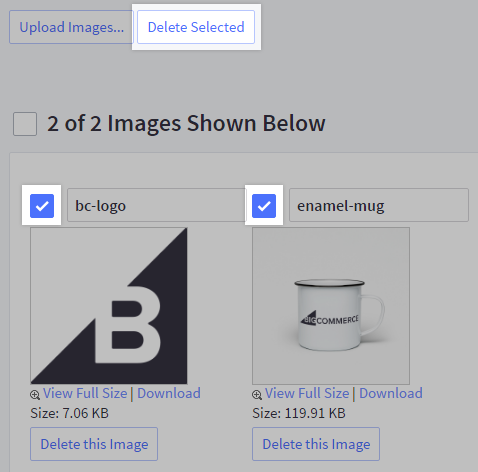
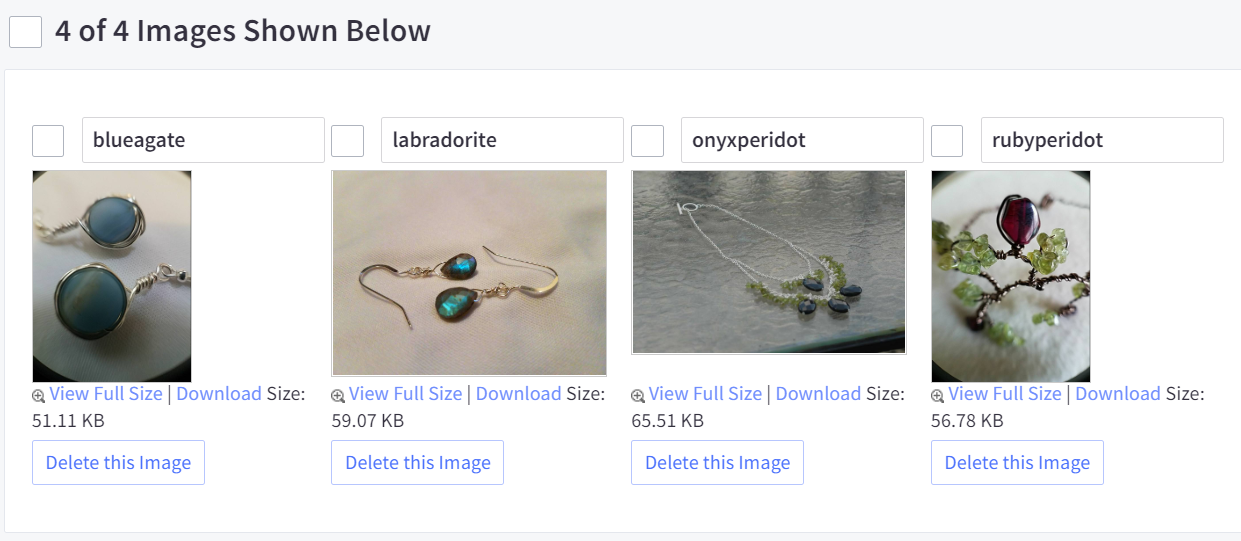
To see the original size of the image, click View Full Size. To download the full-size image, click Download. You can rename the image in the input box above the image thumbnail.