API Accounts
BigCommerce has several APIs that let you manage store data, authenticate customers, make client-side queries for product information, and more. API accounts are used to authenticate requests to our APIs.
There are two different API account types that can be created in the control panel: store-level API accounts that correspond to a single store, and account-level API accounts that function in all stores within your BigCommerce account.
Most apps available in the App Marketplace are Single-Click apps, which don’t require the added steps of creating a dedicated API account and supplying those credentials to a third party.
Requirements
- Only the store owner can create account-level API accounts.
- To view, create, and manage store-level API accounts, you must be granted high-risk user permissions by the store owner.
- To view webhooks, you must be granted the Read Webhooks user permission.
Creating an API Account
See the list below for instructions that correspond to your desired API account type.
Store-Level API Accounts
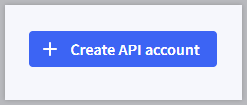
1. Go to Settings › Store-level API Tokens and click + Create API Account.
A maximum of 50 store-level accounts can be created per store.
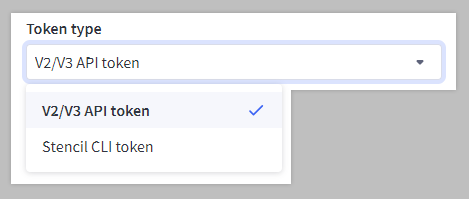
2. Select the Token type. This will determine whether the new account is a V2/V3 API token or a Stencil-CLI token, which is used in theme customization.
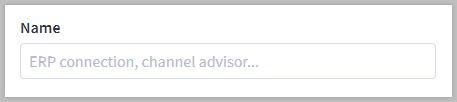
3. Enter a Name for the account. The name must be a minimum of four characters long.
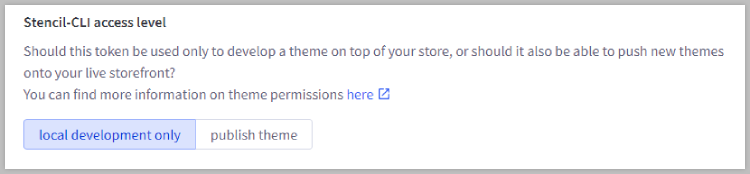
4. For Stencil-CLI tokens, select the access level. For more information on Stencil-CLI tokens, see Live Previewing a Theme in the Dev Center.
5. For V2/V3 API tokens, make a note of the API path, you’ll need it to use the API account. Then, under OAuth Scopes, specify the API resources and permissions required for your app or integration to access.
We offer a variety of OAuth Scopes for customizing and controlling access to your store's data. For more information, see our API Documentation in the Dev Center.
6. When you're done making changes, click Save. A successful save will display a pop-up window containing the API credentials, and you will be prompted by your browser to download a .txt file containing the same credentials for safekeeping on your computer.
Keep your credentials! There is no way to return to this pop-up after you dismiss it. Make sure you store your credentials — either by copying and pasting the contents of each field out of the pop-up or by keeping the downloaded .txt. file. For V2/V3 API tokens, we recommend adding the API Path value from Step 5 to these credentials, as it is used with the token for all API calls.
Account-Level API Accounts
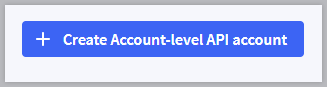
1. Go to Settings › Account-level API Tokens. You will be redirected from the control panel to the Account-level API accounts page. Click + Create Account-level API account.
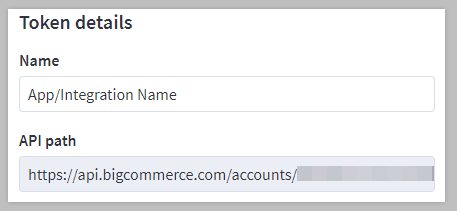
2. Enter a Name for the app or integration corresponding to the API token, then either copy or make a note of the API path — you'll need it to use the API account.
3. Under OAuth Scopes, specify the API resources and permissions required for your app or integration to access. Note that you can select more than one option per resource.
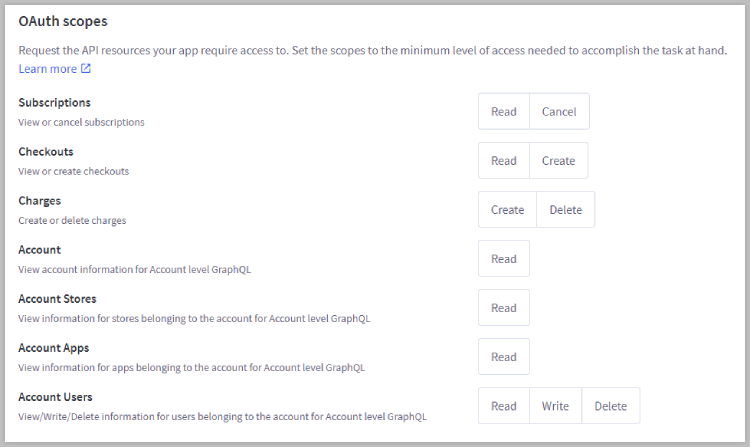
The following OAuth scopes can be specified in account-level API accounts:
- Subscriptions — View or cancel subscriptions to your store's marketing and abandoned cart emails.
- Checkouts — View or create storefront checkouts.
- Charges — Create or delete charges via the Payments API.
- Account — View account information for Account level GraphQL.
- Account Stores — View information for stores belonging to the account for Account level GraphQL
- Account Apps — View information for apps belonging to the account for Account level GraphQL
- Account Users — View, Write, or Delete information for users belonging to the account for Account level GraphQL
4. When you're done making changes, click Save. A successful save will display a pop-up window with the API credentials, and you will be prompted by your browser to download a .txt file containing the same credentials for safekeeping on your computer.
Keep your credentials! There is no way to return to this pop-up after you dismiss it. Make sure you store your credentials — either by copying and pasting the contents of each field out of the pop-up or by keeping the downloaded .txt. file. We recommend adding the API Path value from Step 2 to these credentials, as it is used with the token for all API calls.
Deleting an API Account
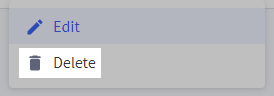
To delete a Store API account, select Delete from the Action menu.
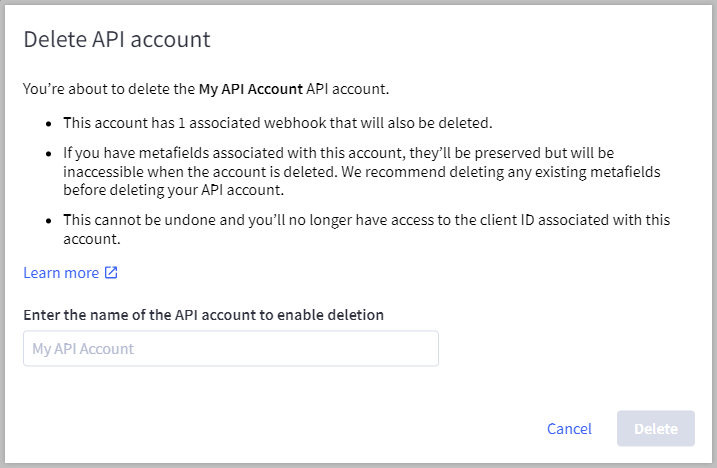
- Webhooks associated with the account will also be deleted.
- If you have metafields associated with this account, they’ll be preserved but will be inaccessible when the account is deleted. We recommend deleting any existing metafields before deleting your API account.
- This cannot be undone and you’ll no longer have access to the client ID associated with this account.
A pop-up window will appear and require confirmation before the account can be deleted. If a webhook is associated with the account, you will need to type the API account name into a field. Once acknowledged and the button is enabled, click Delete.
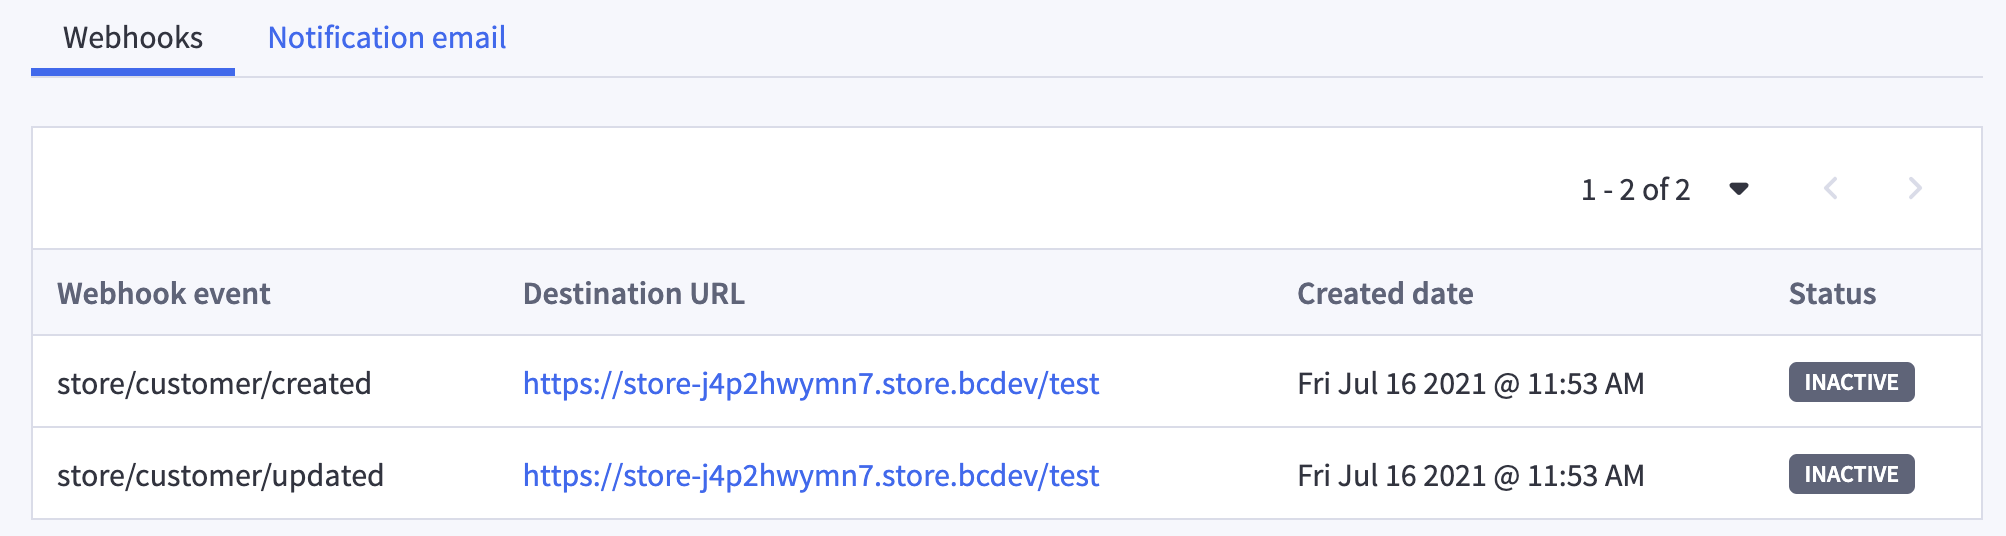
Viewing Webhooks
Webhooks notify applications when specific events occur on a BigCommerce store. Once you have created a store-level API account, you will be able to view which webhooks are active or inactive on the store, which webhooks are currently blocklisted, and which domains are associated with a store. Note that you cannot view webhooks for account-level API accounts.
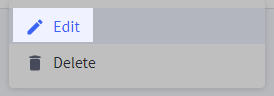
To view the webhooks associated with an API account, select Edit from the Action menu.
You will see a list of webhook events, along with the Destination URL, Created date, and Status for each event.
Notification Settings
To help in managing webhook events, you can set up notification emails to be sent whenever one or more events occur. This allows you to be notified whenever a webhook is deactivated or when a domain is blocklisted, allowing you to respond quickly when any issues arise.
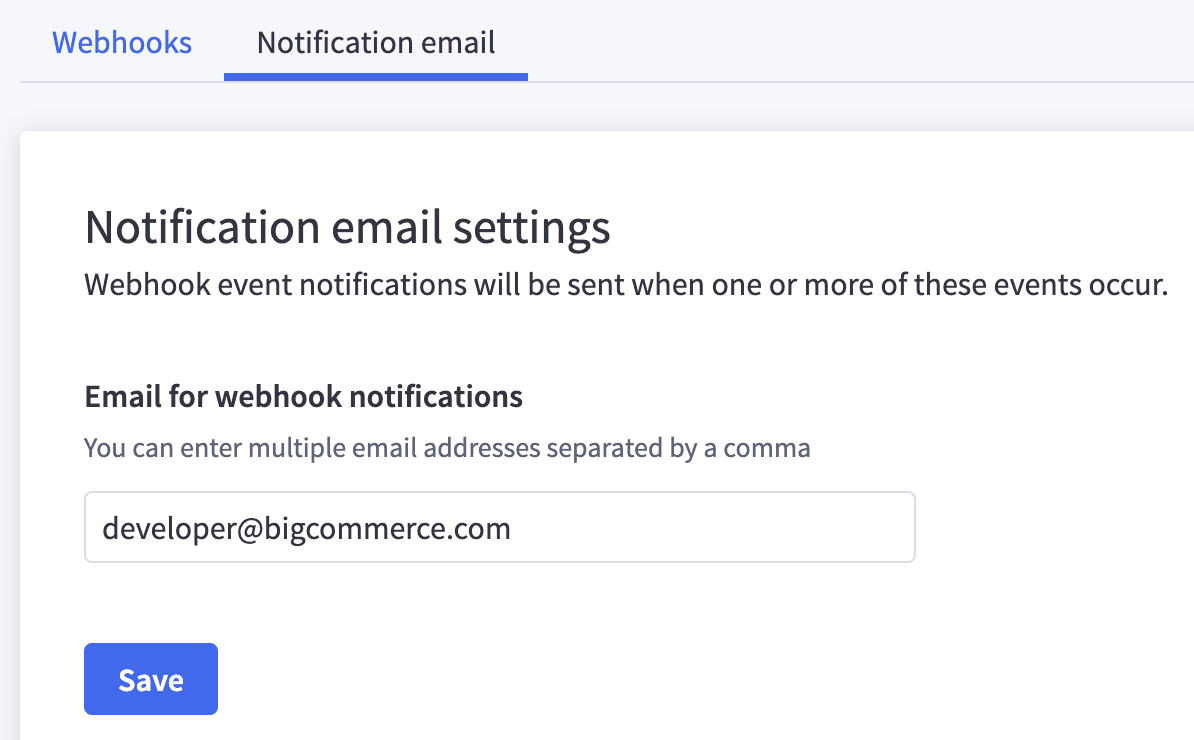
Click on the Notification email tab, and enter your email address. You can enter multiple email addresses, separated by a comma. When you are ready, click Save.
FAQ
As an app developer, what authentication options are there?
Any apps intended for sale on the BigCommerce App Marketplace must use OAuth. OAuth is compatible with all current and planned BigCommerce APIs, including v2 Webhooks and our v3 API. For more information, see our documentation on Authentication in the Dev Center.
Can I create API accounts in my trial store?
Yes, store owners and users with high-risk permissions enabled can create API accounts in trial stores.
How can I enable a Legacy API account to use an app that requires it?
Legacy API accounts can no longer be created in the control panel. We recommend reaching out to the app provider about updating their integration to use store-level API accounts.
If an API account is deleted, can I still modify the webhooks associated with it?
No. Webhooks associated with an API account will be deleted when the account is deleted.
How can I tell which API permissions are handled by a particular OAuth Scope?
Below is a list of all available store-level OAuth Scopes with a summary of each scope's permissions. Keep in mind that some scopes are restricted, such as store logs to read-only. For a list of account-level scopes, see Account-Level API Accounts.
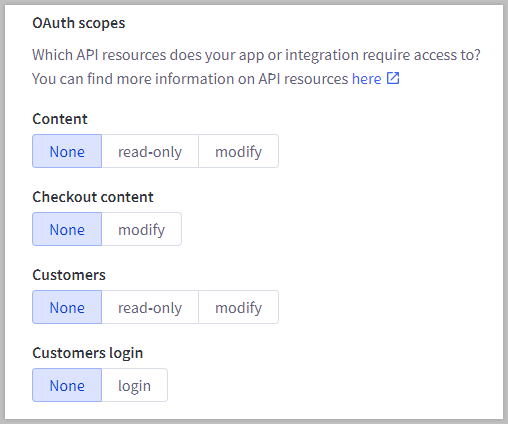
- Content — view and modify store content, such as web pages, blog posts, and widgets
- Checkout Content — read and create scripts on the checkout page
- Customers — manage customers, customer groups, and wish lists
- Customers Login — manage customers, log in to customer accounts on the storefront
- Information & Settings — manage store information, such as store profile contact details, date and time preferences, and default language
- Marketing — view and modify marketing banners, coupon codes, and gift certificates
- Orders — manage orders and update order statuses
- Order Transactions — view details about the payment instruments used to pay for an order
- Create Payments — process payment for an order
- Get Payment Methods — access a list of accepted payment methods for an order
- Stored Payment Instruments — view a customer’s stored payment methods
- Products — view and modify product information, including images, variants and modifiers, categories, brands, and Price Lists
- Themes — back up, restore, download, and apply themes to the storefront
- Carts — view and create carts on the storefront
- Checkouts — create checkouts from existing carts on the storefront
- Sites & Routes — link headless storefronts to sales channels and manage linked pages within the headless storefront
- Channel Settings — view and modify marketplace, POS, and storefront channels connected to your store
- Channel Listings — manage catalog differences across different storefronts and marketplaces
- Storefront API Tokens — create tokens used to authenticate cross-origin requests to the GraphQL Storefront API
- Storefront API Customer Impersonation Tokens — create tokens that allow you to view the GraphQL Storefront API as a specific customer
- Store Logs — view store logs of staff activity and system events