Creating Marketing Banners
What We'll Cover
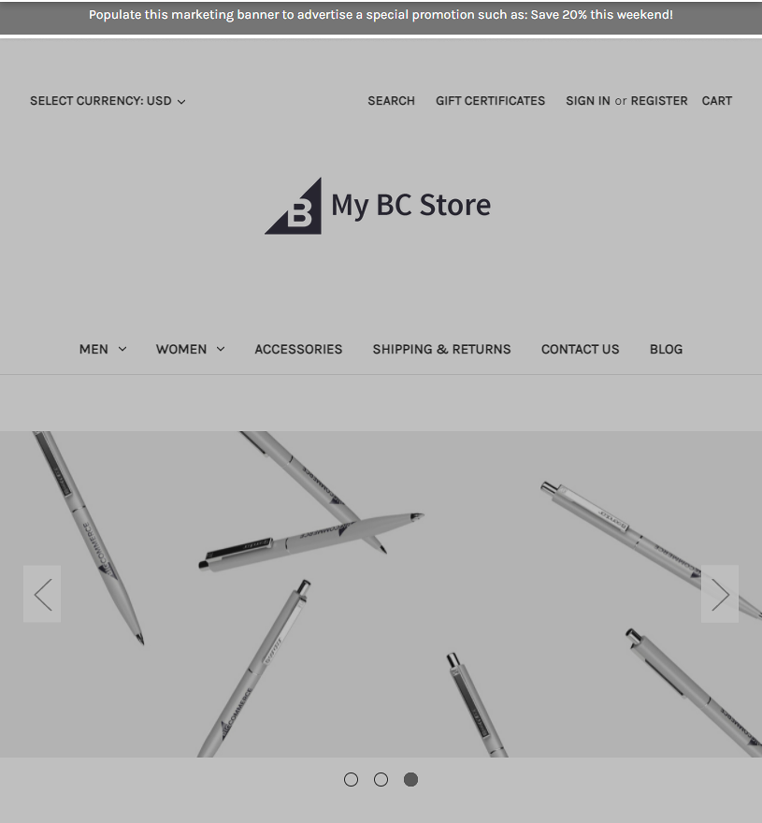
Banners are a great way to advertise sales, display coupon codes and promotions, relay important information, and to add design elements such as images and videos.
This article covers creating banners from the control panel. For information on using the API to manage banners, see the Marketing API documentation in the Dev Center. If you would prefer to hire a developer for theme customization tasks such as banner placement, consider using our Agency Design Request program to work with a Certified Design Partner.
Creating Banners
1. Go to Marketing › Banners and click Create a Banner.
2. Enter a Banner Name. This is for internal purposes only, and will not be visible to your customers.
3. Use the WYSIWYG Editor to add the content for your banner. Content can include images, video, text, and scripts.
4. Select which page the banner should appear on. Banners can only be added to one page at a time.
- Home Page
- For a Specific Category
- For a Specific Brand
- Search Results Page
5. Select a Date Range for the banner to display.
- Always show this banner until I remove it
- Only display this banner between specific dates

6. Select whether or not the banner should be Visible. If you'd like to save the banner as a draft, deselect this option before saving.
7. From the Location drop-down, select whether the banner should appear at the Top of [the] page or Bottom of [the] page. A banner can only be applied to one page at a time, but you can recreate a banner to apply it on another page.
8. Save your changes.
Have more than one banner on the same page and location? If multiple banners are added to the same page and location at the same time, then they will load randomly each time a customer visits the page.
Banner Image Sizes
The size of images used for banners depends on the theme platform you use. See Which theme platform do I have? if you're unsure of the theme platform on your store.
Stencil themes are responsive and will automatically resize images to suit the theme. Images can be any width or height, but it is best to optimize your image size for improving page load speeds.
Using a legacy Blueprint theme? Certain themes have recommended banner image widths. See Blueprint Themes for more information.
Editing Banners
Mark a banner as no longer visible on the storefront by clicking the green checkmark in the Visible column. You can also do this while editing the banner.
To edit a banner, click the Action menu, then select Edit. You can also go to the Edit Banner page by clicking on the Banner Name. Make your desired changes, then click Save.
Pro Tip! Clicking the Banner Location on the Marketing › Banners page will load that page on the storefront, so that you can view any banners enabled on that page.
Deleting Banners
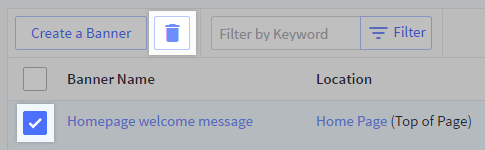
Click the empty checkbox to the left of the banners you want to delete, then click the Trash Bin icon above the list of banners.
On the confirmation pop-up that displays, click the Ok button.
FAQ
Can I assign my banners to individual storefronts?
If you are using Multi-Storefront, all visible banners will display on each of your storefronts. To create a banner for a specific storefront, open Page Builder in your storefront's theme and add a Hero Banner Widget to the desired page.