PayPal powered by Braintree | Automated Setup
PayPal powered by Braintree is our recommended payment gateway, which features credit card processing, advanced fraud protection, and an in-context PayPal window that lets your customers pay with PayPal without ever leaving your site.
If your business is based in the US, UK, or France, you can use our automated setup with PayPal powered by Braintree by following the steps below.
Not based in these countries? If you are not located in the US, UK, or France, you can set up PayPal powered by Braintree using Connecting with PayPal powered by Braintree | Manual Setup.
Enabling PayPal powered by Braintree
1. Go to Settings › Payments.
2. If you have multiple currencies, select the one you want to enable PayPal powered by Braintree for under Show payment methods for:
3. Scroll down and click Online Payment Methods, then click Set up next to Braintree.
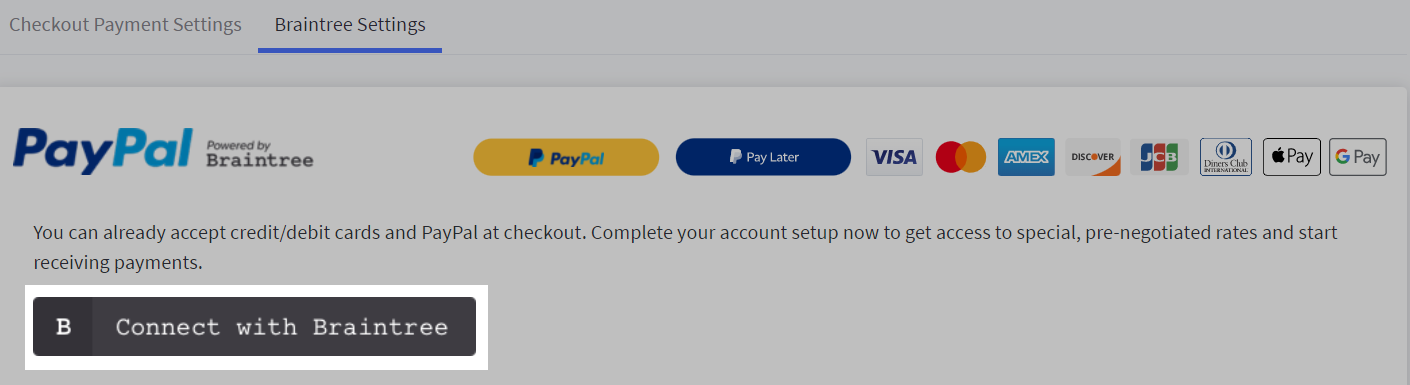
In the new Braintree Settings tab that appears, click Connect with Braintree to begin the application process.
Applying to PayPal powered by Braintree
1. Click Connect with Braintree.
2. You will be taken step by step through the PayPal powered by Braintree sign-up process. If you are signing up with your personal account, you will need to contact PayPal to have them upgrade the personal account into a business account. We recommend using a separate email address if you prefer to keep them separate.
Signing Up for Braintree
1. Create a new PayPal powered by Braintree account using your email address or PayPal account. If you have an existing Braintree account, sign in under Already have a Braintree account.
Need to go? Don't worry if you need to leave the application and come back to finish later. You can come back to the application anytime by returning to the PayPal powered by Braintree Settings page and signing in under Already have a Braintree account with the credentials you created above.
2. Fill in the business information fields about yourself and your business to assist Braintree in verifying your identity during the reviewing process. You will be asked to provide your Social Security number, as this is required to complete the identity verification and required credit check.
3. Link your PayPal Business account, as all your credit card and PayPal payments will be processed through your PayPal powered by Braintree account. If you don’t have a PayPal Business account, you can create one now by entering in your email and completing the setup later at PayPal.com.
4. Give Braintree your final approval to connect BigCommerce and PayPal powered by Braintree.
Disable Pending Approval: If you do plan on using another payment gateway during the approval process, you can temporarily disable PayPal powered by Braintree using the visibility toggle to avoid any confusion at checkout.
Getting Approved for PayPal powered by Braintree
Once you submit your application, you will receive an email confirmation from no-reply+paypal@braintreepayments.com. You should wait to ship goods or provide services until getting full approval. The email confirmation will let you know if you need to provide Braintree with any additional documentation for your application.
1. Submit any additional documentation requested by Braintree. Use the button in the email to ensure speedy processing.
2. Complete the first transaction on your storefront. (You can purchase something and refund yourself later.) Alternatively, log in to your Braintree Control Panel to manually start your application review. You’ll see a notification in the email to kick off this review. One of these is required by Braintree while reviewing your application.
3. Watch for an email confirmation that you have been fully approved. After approval, Braintree will deposit funds into your bank account within 2-3 days for any payments received while you were waiting for approval.
Payment Gateway Settings
When returning to your BigCommerce control panel, go to the Braintree Settings tab. From here you can configure or enable several payment gateway settings, including:
- Advanced fraud protection settings
- Display name for the Braintree/credit card option on your store (we recommend "Credit card")
- Specify a Merchant Account ID
- Authorize and capture settings
- Enable alternative payment methods
- Enable ACH Direct Debit
- Checkout with PayPal (toggle on or off)
- Checkout with PayPal Pay Later (toggle on or off)
- Enable PayPal Banners
- Checkout with Visa Click to Pay (toggle on or off)
- Enable Venmo (toggle on or off)
- Checkout with Google Pay (toggle on or off)
- Enable 3D Secure (toggle on or off)
- Enable Stored Payment Methods (toggle on or off)
- Specify dynamic descriptors
Alternative Payment Methods
Alternative payment methods (APMs) allow you to accept payments from customers around the world who use their bank accounts, wallets, and local payment methods. To learn more about the benefits of APMs, see our Guide to Alternative Payment Methods.
Before enabling alternative payment methods with PayPal powered by Braintree, make sure you have addressed the following considerations:
- Each payment method has its own supported currencies. The payment methods available in Braintree Settings depend on the transactional currencies assigned to PayPal powered by Braintree.
- Local payment methods may have certain shopper requirements in order to be available for use, so local payment methods will become available based on the shipping address and country entered during checkout.
- Alternative payment method transactions are "Authorize and Capture" only, regardless of the Transaction Type option selected. Delayed capture is not supported.
- The APMs supported by PayPal powered by Braintree currently do not support stored or recurring payments.
- Currency conversion is not supported. Alternative payment transactions must be processed in the alternative payment method's supported currency.
Click on the APM in the list below to see its specific requirements and limitations:
Using the steps below, you can enable alternative payment methods and offer your shoppers a wide variety of payment options.
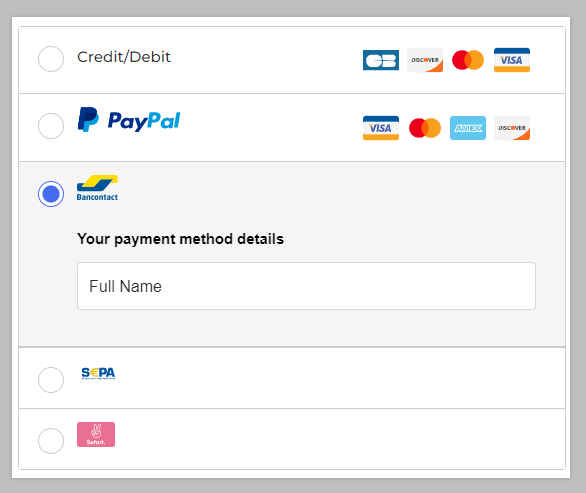
1. Go to Settings › Payments and click on the Braintree Settings tab. Scroll down to Alternative Payment Methods and check the Enable alternative payment methods box.

2. Select the alternative payment methods you want to appear on the checkout page.

3. Save your changes when you are finished.
Enabling ACH Direct Debit
ACH Direct Debit allows your shoppers to pay for both one-time purchases and recurring transactions directly from their bank account instead of a credit card. By offering direct debit, your customers will benefit from a wider range of payment options, reduced fraud risk, and lower processing fees. This feature is available for US merchants only.
Before you can enable ACH Direct Debit in your store, you must fill out this form to request ACH activation in your Braintree merchant account.
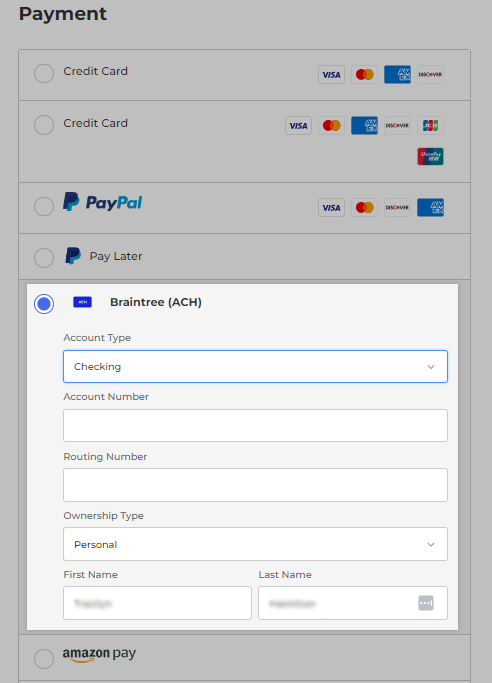
Once ACH Direct Debit is activated, go to Braintree Settings in your BigCommerce control panel. Scroll down to ACH Direct Debit, and check the Enable ACH Direct Debit box.
.png)
To allow your customers to store their ACH account information in your store check the Enable stored ACH accounts box. Note that customers can only store their ACH account during the checkout flow at this time. Customers can view, edit, and delete their saved banking credentials on the My Account page.
The billing address associated with your bank account cannot be edited. If the billing address on your customer’s bank account has changed, they must delete the existing saved ACH account from their storefront account. They can then create a new stored ACH account at checkout using their updated billing address.
.png)
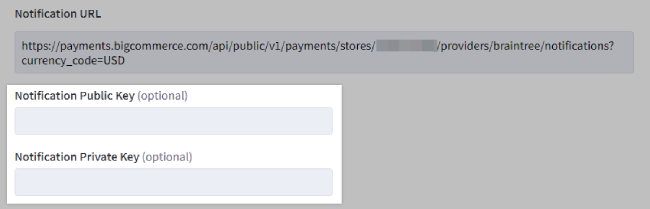
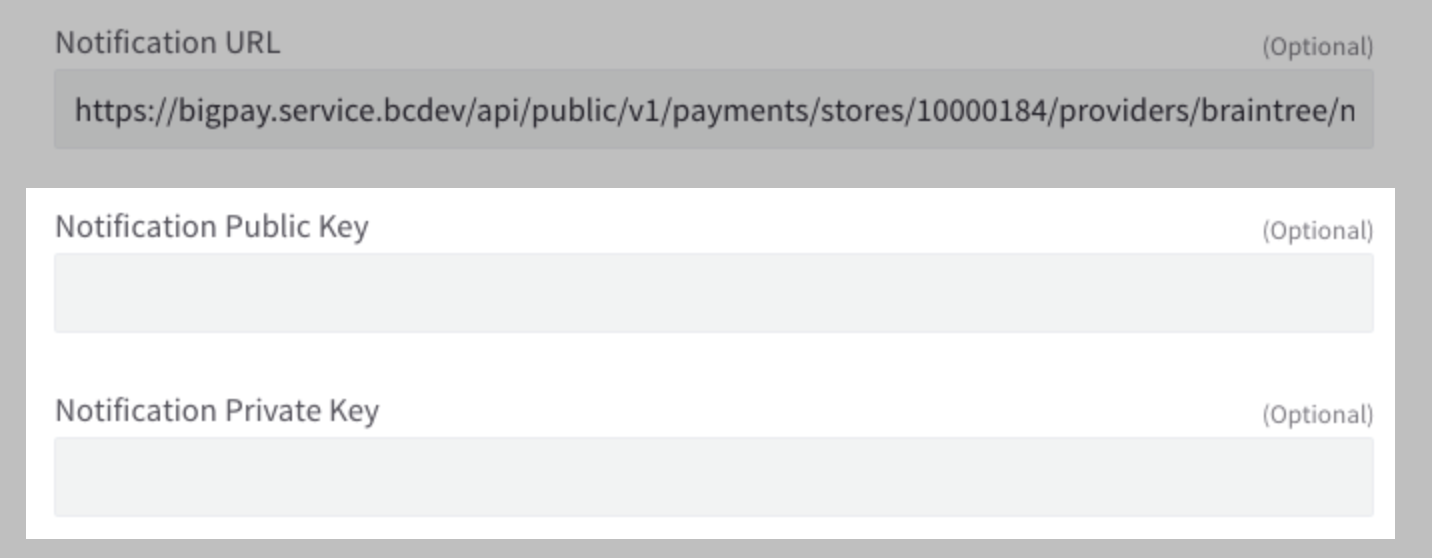
Scroll down further to Notifications endpoint and copy the Notification URL.
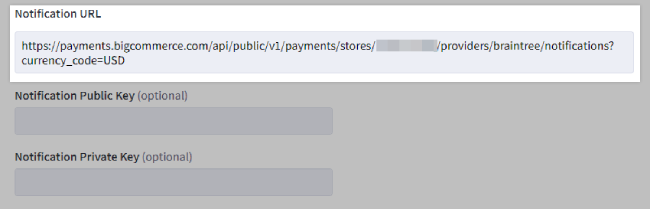
In your Braintree Dashboard, navigate to the following location: Gear icon › API › Webhooks › Create New Webhook. Note that your Braintree user account must have the Manage Webhooks permission enabled to access this area of the dashboard. Paste the copied URL in the Destination URL field.
Under the Transaction section of the webhook creation page, check the boxes next to Transaction Settlement Declined and Transaction Settled. When done, click Create Webhook.
After creating the webhook for ACH, navigate to Gear icon › API › Keys › API Keys in the Braintree dashboard and copy your Public Key and Private Key. Return to Notifications endpoint in your BigCommerce control panel, and paste the keys in Notification Public Key and Notification Private Key respectively.
Save your changes to activate ACH Direct Debit on your storefront.
Multicurrency Setup
Depending on how you signed up for your PayPal powered by Braintree account, there may be additional steps you need to take in your Braintree control panel in order to offer additional currencies.
If you signed up for your account in BigCommerce:
Simply follow the recommended flow below for enabling a new currency.
- First, create and configure your new currency. See Managing Currencies if you need help.
- Then, go to Store Setup > Payments and use the currency selector at the top of the screen to select your new currency. See Online Payment Methods if you need help.
If you signed up for your account outside of BigCommerce:
For each additional currency that you offer in BigCommerce, you will need to create a new merchant account ID in your Braintree control panel.
- First, enable the gateway for your default currency in BigCommerce.
- If you have multiple merchant account IDs, use the one associated with your default Braintree currency.
- Then, create and configure your new currency in BigCommerce.
- When you enable the gateway for the new currency, use the merchant account ID associated with that currency in Braintree.
- We recommend avoiding disabling PayPal powered by Braintree for your default currency, if possible.
Additionally, if you offer both credit cards and PayPal, you will need to ensure that your account is configured to accept the new currency for both payment methods.
Enabling Account Updater
Offered by Braintree, Account Updater is an optional paid service that automatically updates stored card information, such as new numbers, new expiration dates, and closed accounts.
This can be extremely useful for stores that offer subscriptions, as it ensures that recurring transactions won't fail due to outdated stored card information and customers won't need to contact the store to update their payment details, creating a less than optimal customer experience.
By following the process below, you can ensure that the card information provided by Account Updater is synched with your BigCommerce store, so that customers will always see the most up-to-date card information when viewing their stored cards.
Check user permissions in Braintree. Before setting up Account Updater, ensure that your Braintree user account includes the Manage Webhooks permission.
1. Go to Settings › Payments, and click on the Braintree Settings tab. Scroll down to Stored Credit Cards and ensure that Enable stored credit cards with Braintree is toggled on.
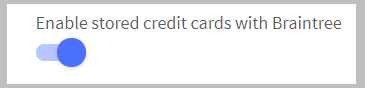
This will allow you to access the Braintree Account Updater notification fields.
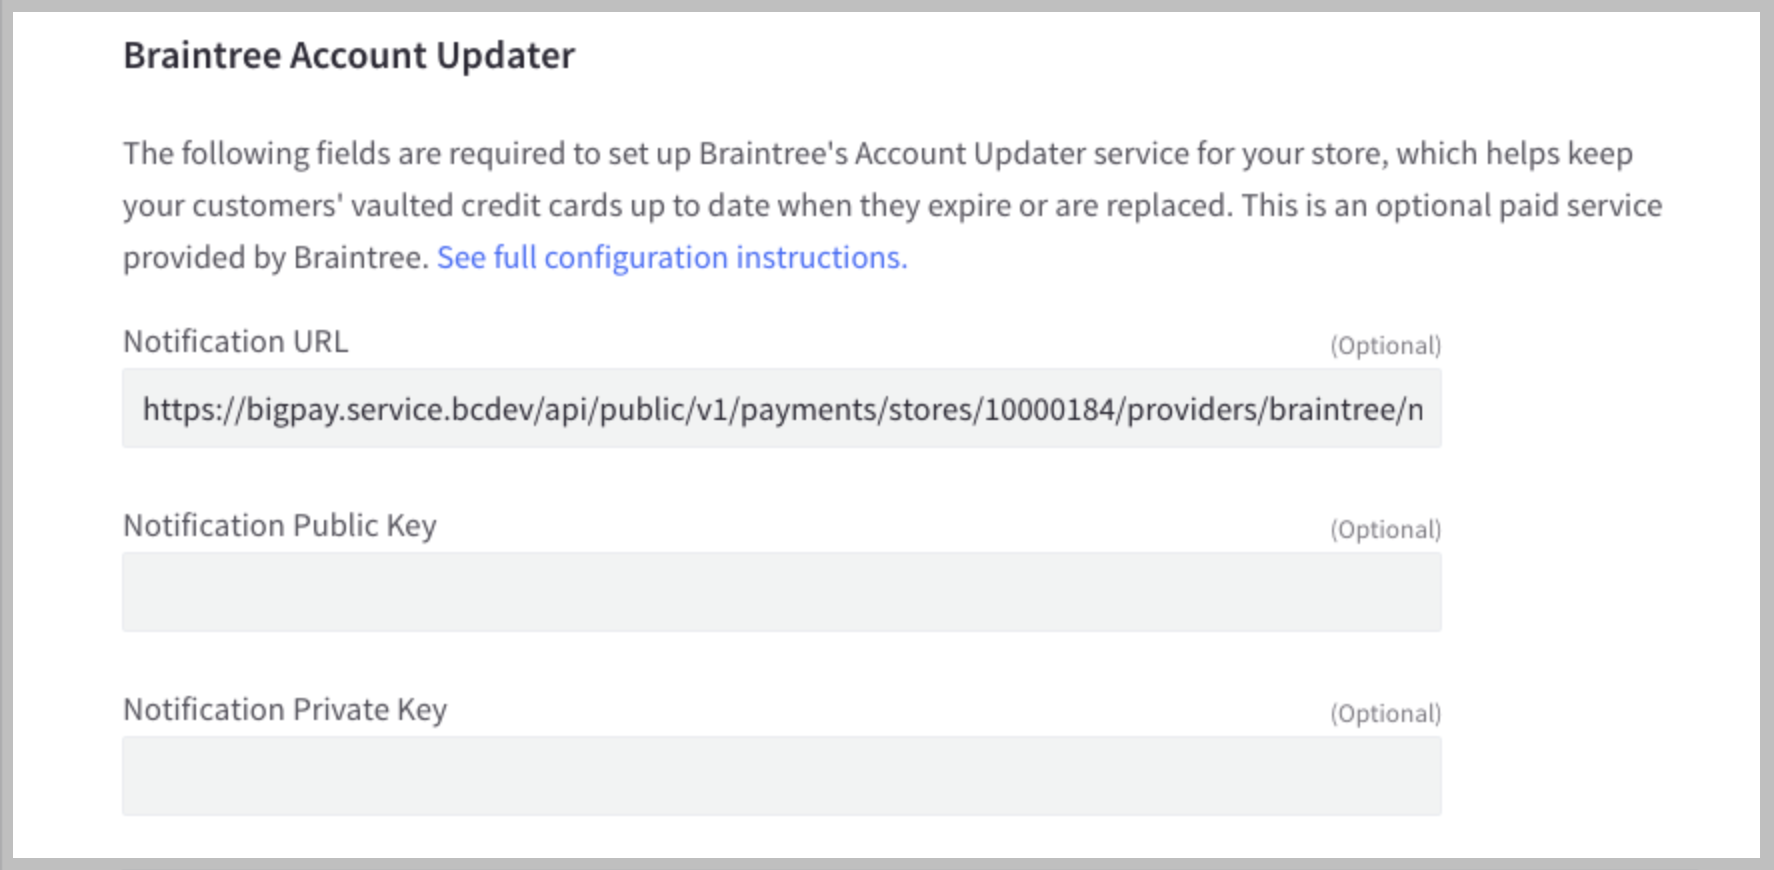
2. Copy the Notification URL from your Braintree settings page in BigCommerce and paste it into your Braintree Dashboard at the following location: Gear icon › API › Webhooks › Create New Webhook › Destination URL.
Setting up ACH Direct Debit? The required webhook fields are slightly different from those used to enable Account Updater. See Enabling ACH Direct Debit for more information.
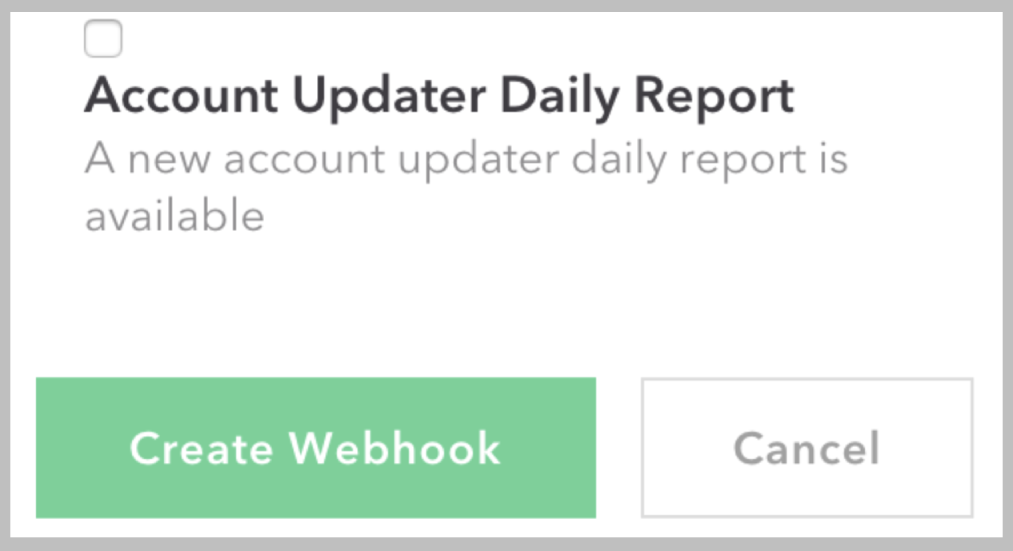
3. Select Account Updater Daily Report, then click Create Webhook.
4. Copy the Public Key and Private Key from your Braintree Dashboard at the following location: Gear icon › API › Keys › API Keys. Paste the Public Key and Private Key into the Notification Public Key and Notification Private Key fields in your Braintree settings page in BigCommerce.
5. When you are ready, Save your changes.
Configuring Dynamic Descriptors
Dynamic descriptors are sent on a per-transaction basis and define what will appear on your customers' credit card statements for a specific purchase. Having personalized descriptors can improve recognition of transactions with your business and reduce the likelihood of chargebacks.
A customer's bank will determine exactly how your business's descriptors will appear on customer statements, but they are oftern formatted like this:
MYCOMPANYNAME 555-123-1234 NM $100.00
Using the steps below, you can enable your Braintree account and BigCommerce control panel and configure custom dynamic descriptor fields.
1. Contact Braintree to enable dynamic descriptors on your Braintree account. Braintree will also provide you with your processor's dynamic descriptor requirements, such as maximum character length or supported character types. Transactions will fail if you supply a unique descriptor without dynamic descriptors enabled or if your descriptor exceeds their processor's character limits.
2. Once your Braintree account supports dynamic descriptors, contact our Support team to activate the descriptor fields setting in your BigCommerce control panel.
3. In the control panel, go to Settings › Payments, and click on the Braintree Settings tab. Scroll down to Dynamic descriptor and fill out the descriptor fields.
Your processor may have different descriptor requirements from the ones listed in Braintree Settings. If you are unsure about your processor's requirements, contact Braintree.
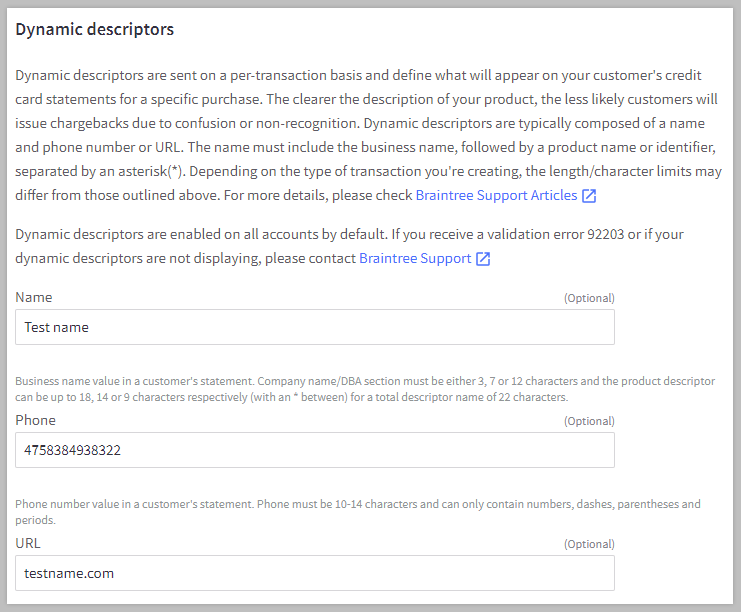
- Name — composed of a business name and product name, separated by an asterisk (*)
- Phone — your business's phone number
- URL — your business's web address
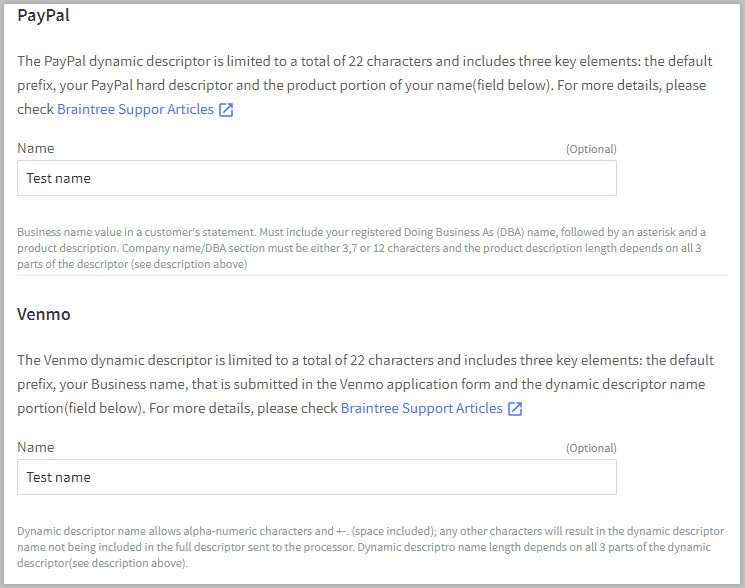
If you have enabled PayPal and Venmo payments on your store, you can also specify a dynamic descriptor Name for each.
4. Save your changes when you are done.
Enabling Fraud Protection
PayPal powered by Braintree provides basic and advanced fraud filters to help you protect your account against fraudulent activity and take control of your business. You'll also have the option of adding 3D Secure, which adds another layer of verification during checkout. Note that while this feature does add extra security, it also adds extra friction at checkout.
To set up basic fraud controls in PayPal powered by Braintree, you'll first need to log in to your Braintree control panel. In your Braintree merchant account, go to Settings › Processing › Fraud Tools. You'll have access to a list of processing and fraud settings:
- Duplicate Transaction Checking
- AVS
- CVV
- Risk Thresholds
- Card Verification - Retry All Failed $0
- Advanced Fraud Tools
Duplicate Transaction Checking
This setting rejects transactions if another successful transaction has been completed with the same payment method, order ID, and amount within the last X seconds. X can be set to up to 3600, or one hour. This setting is useful if your customer clicks the back button, refreshes the page, or anything else that might cause the transaction to be put through twice. Note: This setting only applies to credit card transactions, not to transactions done through PayPal.
Recommended settings: Enabled; 30 seconds.

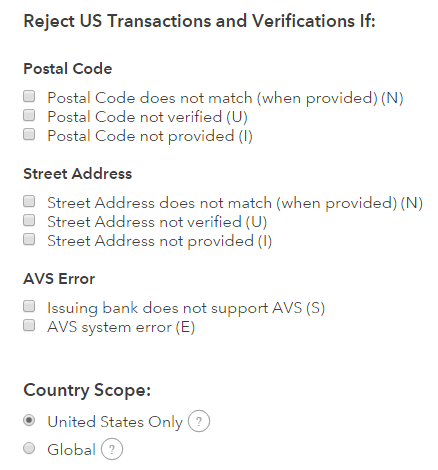
AVS Rules
AVS or Address Verification System rules determine when transactions and verifications should be rejected based on address criteria. For example, you can set whether a transaction should be rejected if the postal code doesn't match what the customer's card issuing bank has on file.
Recommended settings: At this time, Country Scope must be set to United States Only.
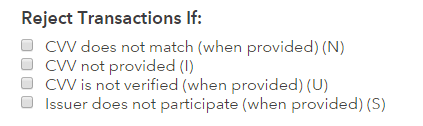
CVV Rules
CVV rules determine when to reject transactions based on whether the merchant has provided the correct CVV associated with the credit card.
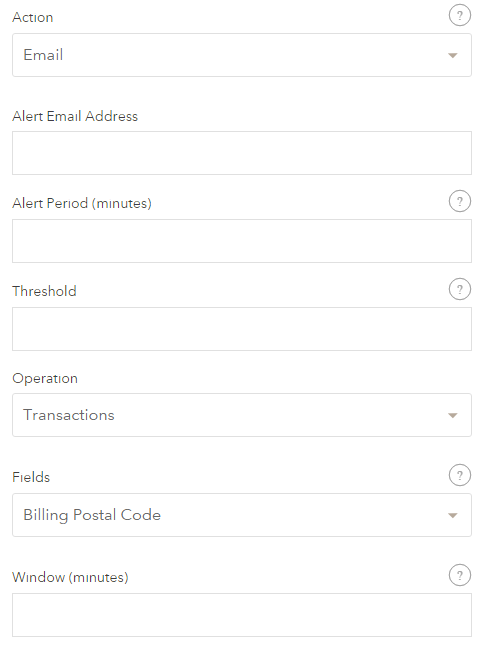
Risk Threshold Rules
Risk Threshold rules can be set up to notify you or reject transactions that follow particular trends. Their purpose is to protect you from card attacks. See Risk Threshold Rules on Braintree's support site for more information.
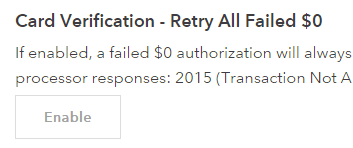
Card Verification - Retry All Failed $0
If enabled, a failed $0 authorization will always be retried as a $1 authorization regardless of the processor response. If disabled, a failed $0 authorization will only be retried as a $1 authorization for the following processor responses:
- 2015 (Transaction Not Allowed)
- 2019 (Invalid Transaction)
- 2023 (Processor Does Not Support This Feature)
- 2027 (Set Up Error - Amount)
- 2048 (Invalid Amount)
Recommended setting: Enabled
Advanced Fraud Tools
Setting up Premium Fraud Management Tools
Premium Fraud Management Tools can be enabled from within the Braintree control panel. See PayPal's article on Premium Fraud Management Tools for more information.
Setting up 3D Secure
3D Secure is a payment processing security feature that requires customers to enter a password that is tied to their credit card when making a purchase. Customers who do not have 3D Secure set up will be prompted to do so. This security feature reduces the chance of fraudulent activity on both the card and for your store.
To set up 3D secure for PayPal powered by Braintree, email accounts@braintreepayments.com to request it be enabled in your account. Once you receive confirmation of its implementation, in BigCommerce, go to Settings › Payments and click the Braintree Settings tab.
Toggle the Enable 3D Secure switch to ON and Save your changes.