BigCommerce for WordPress | Checkout
What We'll Cover
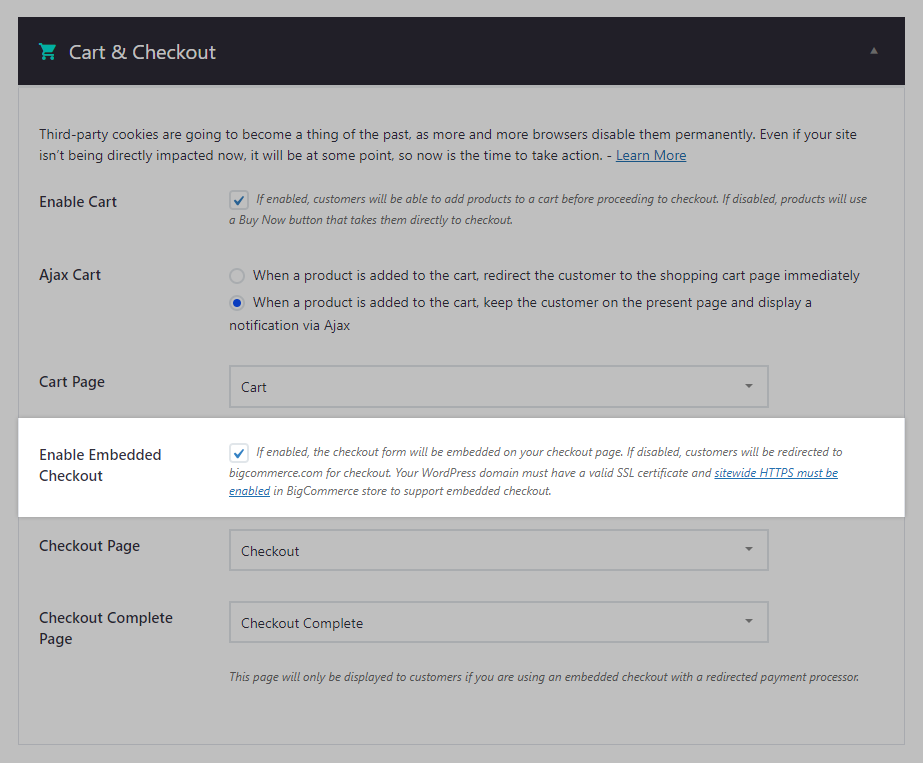
After you've installed the BigCommerce for WordPress plugin, you'll have the option to choose your shopper checkout experience from within the plugin settings (BigCommerce › Settings). There are two available checkout types: Embedded Checkout and Redirected Checkout.
If an SSL certificate is enabled on your WordPress site, your store will default to enabling Embedded Checkout. Otherwise, it will default to Redirected Checkout.
Embedded Checkout
With Embedded Checkout, BigCommerce powers the full checkout experience, taking on the burden of PCI compliance for you. It is enabled by default after installing the plugin if you have an SSL certificate installed on your WordPress site’s domain.
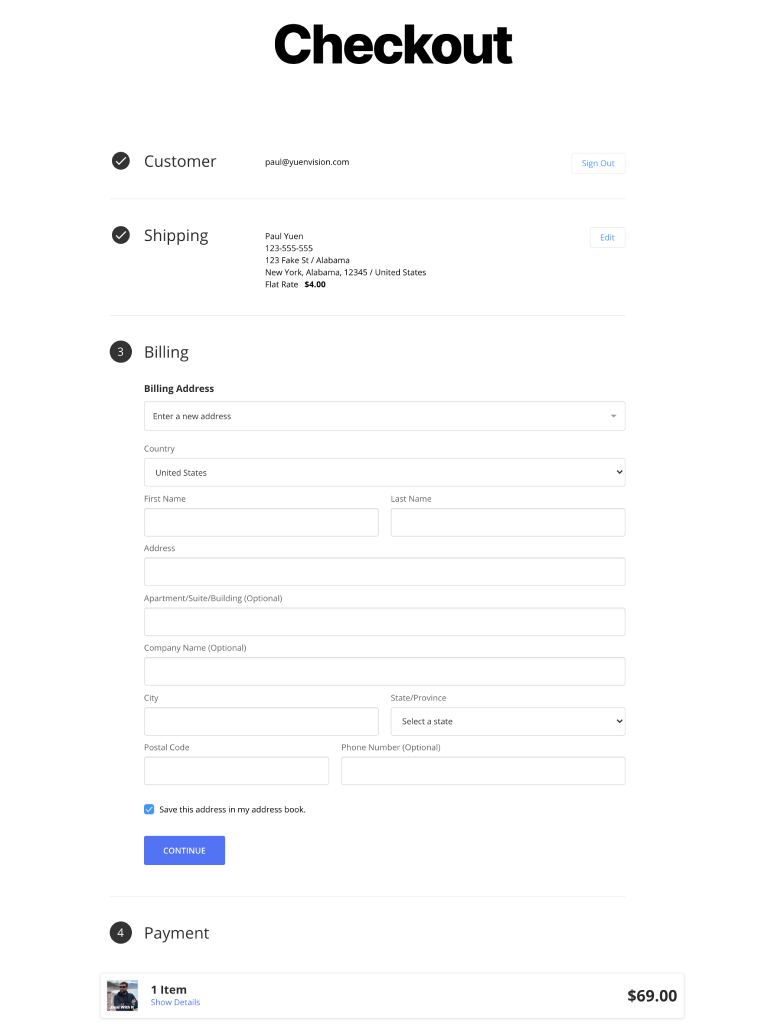
When enabled, your BigCommerce store's checkout form (using the Optimized One-Page Checkout) will be embedded via iframe into your WordPress checkout page. This keeps customers on your WordPress site without the need for changing domains to check out. As noted above, an SSL certificate is required for your WordPress site before you can use Embedded Checkout.
The plugin creates a checkout that can be customized in WordPress in the same way as a theme is, using the shortcode [bigcommerce_checkout].
Features
- PCI Compliant
- Robust and easy to integrate
- Supports all BigCommerce's non-hosted payment gateways
If you are using Embedded Checkout with one of the supported redirected (hosted) payment gateways, you can select a Checkout Complete Page for shoppers to return to after completing their payment.
Limitations
- Does not support most hosted payment gateways (gateways that redirect from checkout to the payment service provider's page)
- A complete list of gateways that support Embedded Checkout can be found here.
- Does not support most digital wallets
- A complete list of wallets that support Embedded Checkout can be found here.
- Does not support Persistent Cart
If Embedded Checkout is enabled, the option to configure routes for the Forgot Password and Create Account links will appear when editing the channel settings in the Channel Manager. These links behave differently in Embedded Checkout, and must be routed to a page in WordPress.
Interested in using Embedded Checkout outside of WordPress? Embedded Checkout lets you place BigCommerce's Optimized One-Page Checkout onto an external site with the use of our Checkout SDK. See our developer documentation on Embedded Checkout and Checkout SDK to learn more.
Adding a Subdomain for Embedded Checkout
In order for Embedded Checkout to work correctly for shoppers, your WordPress checkout page must be served from the same domain as your BigCommerce storefront.
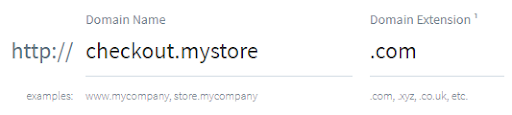
To accomplish this, you’ll need to create and use a subdomain of your storefront domain for your BigCommerce store. For example, if your WordPress storefront is www.mystore.com, then you’ll set up your BigCommerce store to use checkout.mystore.com (or something similar).
Be prepared for downtime. These instructions will have you change the DNS settings on your BigCommerce store, which will make Embedded Checkout and other parts of your WordPress storefront temporarily unavailable.
If your site is already live, contact our support team before following these steps. We can coordinate the change with you to help minimize downtime.
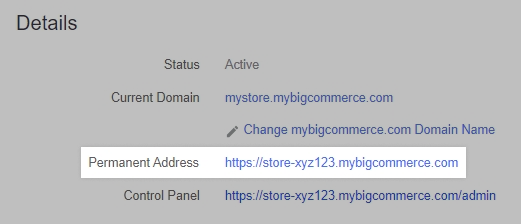
1. Find your permanent address ;by navigating to the BigCommerce Account Dashboard. Click your store name, and scroll down to Details.
2. At your domain name registrar, create a new CNAME record to point a subdomain (like checkout.mystore.com) to your permanent address. Check your registrar’s support documentation if you need help.
- Type: CNAME
- Name/Host: [your subdomain]
- Example: checkout.mystore.com
- Value: [your permanent address]
- Example: store-xyz123.mybigcommerce.com
- TTL: 3600
Extra steps are needed to use the BigCommerce free SSL certificate. To ensure that the certificate is installed correctly, you will need to create a CNAME record at your domain registrar to point the www version of the subdomain, along with adding the CNAME record detailed above to point to your checkout page.
3. Log in to your BigCommerce store’s control panel as the Store Owner.
4. Go to Settings › Domain name and click Add an existing.
5. Enter your subdomain and click Next.
While the change propagates, your WordPress storefront won’t work correctly and checkout won’t work at all. It can take up to 48 hours before the changes take effect across the globe. You will know it is complete when visiting checkout.mystore.com pulls up your BigCommerce store.
Redirected Checkout
If Embedded Checkout is not enabled, your store will use Redirected Checkout. In this flow, when a shopper clicks Proceed to Checkout or Buy Now, they will be redirected to your BigCommerce storefront checkout page to finalize the order. Note that the checkout page resides on the domain of the BigCommerce store, not the WordPress website. If the customer is logged out on the BigCommerce side and redirected away, they will remain logged into WordPress.
Features
- PCI Compliant
- Supports all BigCommerce payment gateways
Limitations
- Does not support Persistent Cart
- You may want your BigCommerce subdomain (xxx.mybigcommerce.com) to match your WordPress store's domain.
- You may want to customize your BigCommerce checkout page to match your WordPress theme.